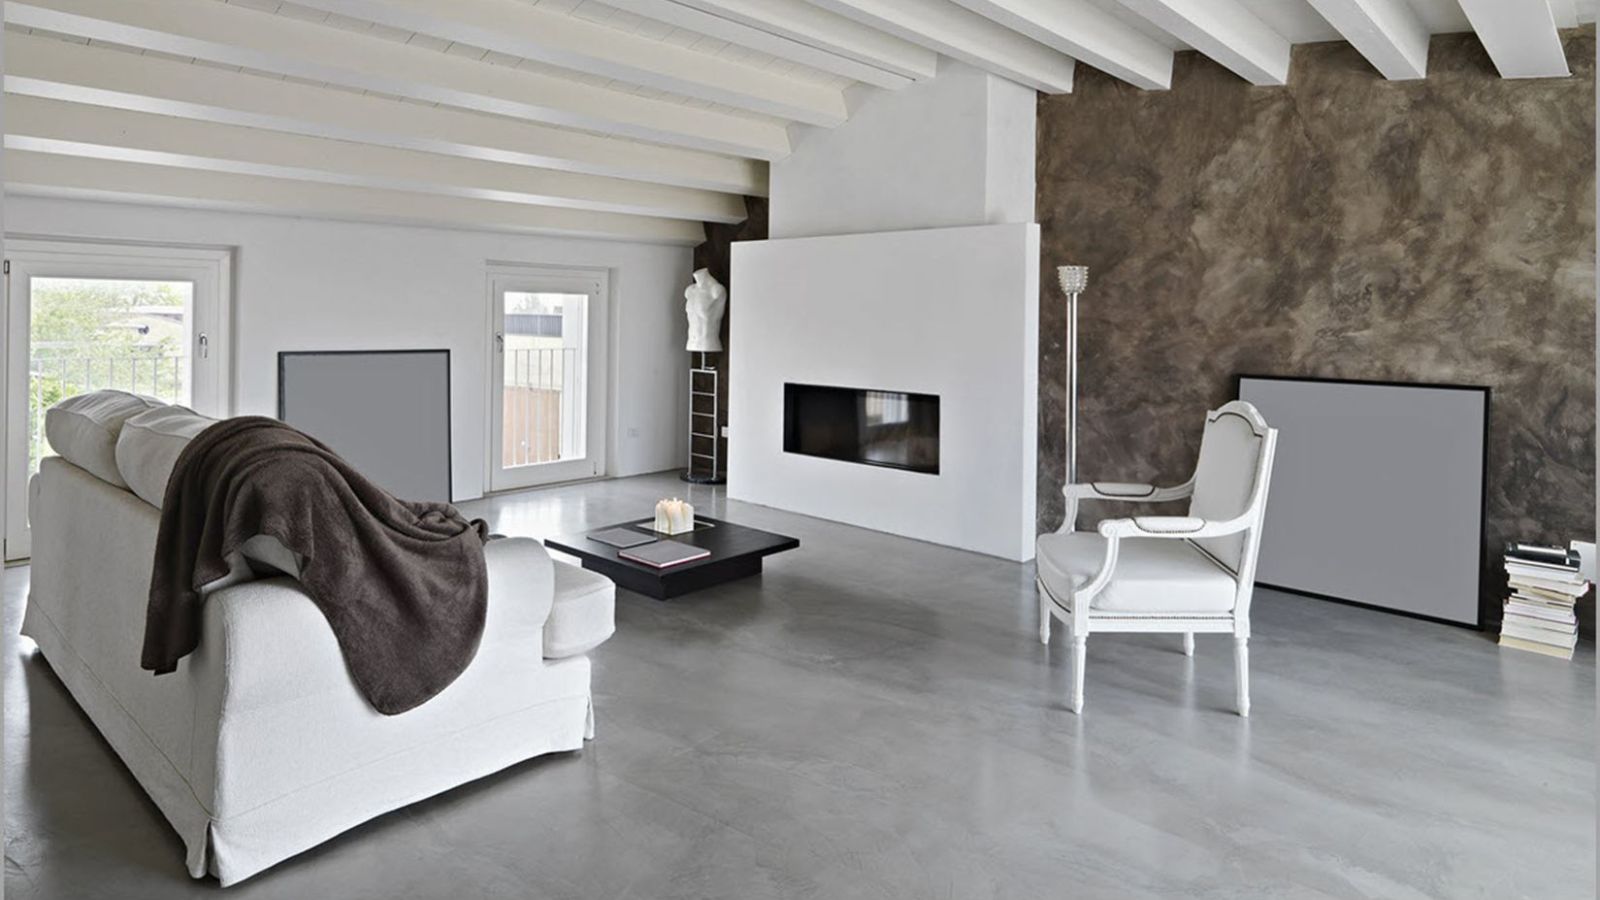
Removing old carpet reveals the durable concrete floor underneath, offering a clean slate for whatever plans you have for your space.
Cleaning your concrete floor after carpet removal is essential to remove the dust, debris, and adhesive remnants that can be left behind.
This step ensures your floor is prepared for its next phase, whether that’s being sealed, stained, or left bare for a minimalist aesthetic.
Dealing with the stubborn adhesive can be challenging, but with the right approach, you can efficiently tackle the residue without damaging the concrete beneath.
Using tools like a metal scraper can help peel away the bulk of the adhesive, and following up with a thorough sweep and wash will ensure your floor looks pristine.
While adhesive remover chemicals might seem like an easy solution, it’s important to proceed with caution as some products may harm the surface of your concrete.
For a deep clean, incorporating tools like a power washer or a scrub brush can significantly ease the process.
These methods help to dislodge and remove any remaining dirt, grime, or adhesive without the need for harsh chemicals.
It’s all about choosing the right tools and techniques to revitalize your concrete floor, making it ready for whatever comes next in your home improvement journey.
1. Preparation for Cleaning Concrete Floors
Before you start scrubbing away at your concrete floors, it’s crucial to have the right tools on hand and to properly clear away the old carpet and adhesives.
This ensures that you have a clean slate to work with for the best results.
Gathering Necessary Supplies
Here’s a checklist of the essentials you’ll need to properly clean your concrete floor:
- Broom and Dustpan: To sweep up any loose debris, dust, and particles.
- Vacuum (preferably a shop vac): To ensure all fine particles are removed, especially in porous areas.
- Metal Scraper or Putty Knife: These are vital for removing stuck-on adhesive residue.
- Gloves: To protect your hands during the cleaning process, especially when handling tools and scrapers.
- Bucket: Essential for mixing your cleaning solution.
- Mild Soap: A gentle cleaner to help lift dirt without damaging the concrete.
Ensure all your tools are gathered and within reach to streamline the cleaning process.
Removing Carpet and Adhesives
- Carpet Removal: Begin by carefully pulling up the edges of your old carpet. You might need pliers to grip and pull the fibers if they’re stuck firmly to the adhesive below.
- Adhesive Removal: After disposing of the carpet, tackle the remaining adhesive on the concrete. a. Use your metal scraper or putty knife to gently scrape away adhesive residue. Be patient and careful not to damage the concrete surface. b. If some adhesive proves stubborn, remember not to use harsh chemicals as they might harm the concrete. A dampen broom can help loosen and remove dust and particles after the bulk of adhesive is scraped away. c. Sweep the area thoroughly with your broom and dustpan, and then follow up with a vacuum to ensure all dirt and loose bits are gone.
By taking the time to properly prepare and gather your supplies, the actual cleaning of your concrete floors will be much smoother and more effective.
2. Initial Cleaning Process
Before tackling any stubborn stains or residue, it’s essential to thoroughly sweep and vacuum your concrete floors to remove loose debris.
Mopping with an appropriate cleaning solution will ensure a clean slate for any further cleaning or treatment your floor might need.
Sweeping and Vacuuming
- Sweep: Begin by sweeping the entire floor with a broom to collect loose dust particles and debris. Make sure to reach into corners and along edges.
- Vacuum: Follow up with a vacuum cleaner using a floor attachment. This will pick up any remaining dust and finer particles that the broom might have missed. Pay special attention to grooves and cracks where dust might be hiding.
Mopping and Rinsing
- Prepare Solution: In a mop and bucket, mix a cleaning solution of hot water and a small amount of detergent or vinegar. The choice between detergent and vinegar depends on how dirty the floor is and whether you’re dealing with greasy stains.
- Mop: Use a mop to apply the solution across the floor. Work in sections to ensure thorough coverage without allowing the solution to dry on the concrete.
- Rinse: After mopping, rinse the floor with clean, hot water to remove any soapy residue. This might need to be done several times to ensure all detergent is removed.
- Drying: Begin the drying process by using an absorbent towel or a microfiber cloth to remove excess water, or allow the floor to air dry before moving on to the next cleaning stages.
3. Dealing with Stubborn Stains and Residue
After removing carpet from a concrete floor, you’re often left with adhesive residue or carpet glue that can be quite stubborn.
Scraping and Chemical Treatment
Adhesive Residue and Carpet Glue: The first step is typically to scrape off as much of the residue as possible. A standard putty knife or paint scraper works well for this, but be careful not to gouge the concrete.
Once you’ve scraped off what you can, it’s time to apply a glue remover or paint thinner. Carefully following the product’s instructions will ensure that you soften and remove the remaining adhesive effectively.
Glue Remover Use:
- Apply the glue remover liberally over the adhesive.
- Allow it to penetrate based on the recommended time (usually 15-30 minutes).
- Scrub the area with a stiff brush.
- Rinse with water and allow it to dry.
Note: If dealing with grease stains, a degreasing concrete cleaner can be applied before treatment to break down grease.
Special Techniques for Tough Stains
Some stains simply won’t respond to the initial cleaning attempts. In these cases, you might need to employ more intensive methods:
- Heat Gun: A heat gun can be used to soften old carpet glue. After heating, you should be able to scrape the material away more easily.
- Muriatic Acid: For extremely resistant glue, a diluted muriatic acid solution can be a last resort. It’s critical to use proper safety gear and follow the manufacturer’s guidelines precisely due to its corrosive nature.
- Baking Soda and Bleach: For organic stains like mildew, create a paste using baking soda and bleach. Spread it over the stain, let it sit for a few hours, then scrub and rinse.
| Stain Type | Treatment Suggestion | Safety Tips |
|---|---|---|
| Adhesive Residue | Glue remover / paint thinner | Ventilate the area; wear gloves |
| Grease | Concrete cleaner (degreaser) | Wear eye protection; follow directions |
| Organic (mildew) | Baking soda and bleach | Well-ventilated area; avoid skin contact; wear a mask |
| Hardened Glue | Heat gun / muriatic acid | Heat gun at a safe distance; muriatic acid with caution |
Always test a small, inconspicuous area first to ensure the treatment does not damage the concrete surface.
4. Finishing Touches for Concrete Floors
After thorough cleaning, your concrete floor is almost ready for its debut, whether that means simply enjoying the industrial aesthetic or preparing for new flooring installation.
The final steps are crucial to ensure longevity and a suitable surface for whatever comes next.
Dry the Floor Completely: It’s important that you allow your floor to air dry thoroughly. This might take at least 24 hours, depending on air flow and humidity levels.
Use fans to speed up the process if necessary.
Check for Moisture: Before proceeding with sealants or new flooring, confirm that the floor is completely dry. You can do this by taping a piece of plastic to the floor for 24 hours and checking for condensation.
Apply a Sealant (if desired): If you’re keeping the concrete exposed, applying a sealer can protect it from moisture and stains.
Choose a product suitable for your needs—whether it’s for enhanced durability or just for the aesthetic shine. Follow the manufacturer’s instructions for application.
Prepare for New Flooring Installation: If you’re adding tile, vinyl flooring, or other materials, ensuring a clean, dry base is essential.
Check the manufacturer’s recommendations regarding the installation over concrete—some might require a specific underlayment or moisture barrier.
- Tile: Ensure that the concrete is flat and repair any chips or cracks.
- Vinyl Flooring: Remove any residual adhesives; the surface should be smooth and flat.
Remember, these steps are as much about protecting your investment as they are about aesthetics.
Taking the time to do the prep work right will pave the way for a floor that not only looks great but also lasts longer.


