Tiling a room can be both a rewarding and challenging DIY project.
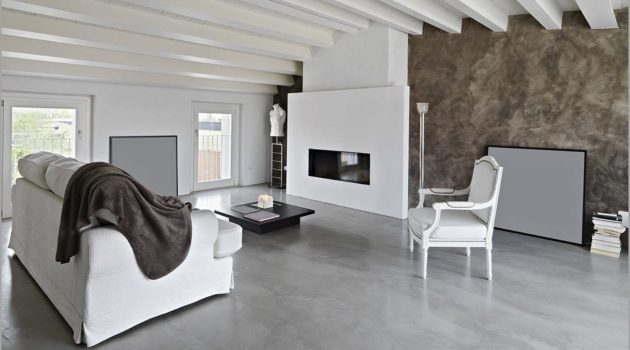
With the right preparation, attention to detail, and adherence to some essential guidelines, you can transform your space into something truly special.
In this article, we’ll guide you through the do’s and don’ts of tiling a room to ensure you achieve a professional-looking result that you can be proud of.
Before diving into your tiling project, taking safety precautions and preparing the space properly is crucial.
This includes covering electrical sockets, keeping cables out of the way, and ensuring your plumbing has no leaks.
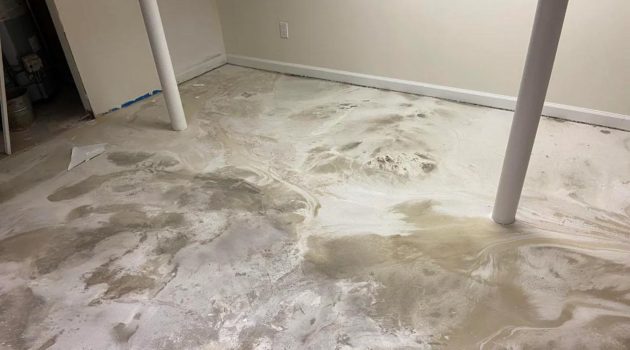
The foundation of your tiling work starts with a clean and stable surface so that adhesive sticks properly and your tiles lay evenly.
Choosing the right tiles, adhesive, and grout color are key factors in the success of your tiling project.
Be mindful of using multiple colors or bold patterns in small spaces, as they can make the area feel more cramped.
It’s also important to use only a little adhesive, as excess can lead to cracks over time, creating a rigid surface that doesn’t allow for natural shifting and movement of the tiles.
Read on to explore more do’s and don’ts of tiling a room and learn how to avoid common pitfalls that could compromise the final results.
1. The Do’s of Tiling a Room
Planning and Preparation
Before you begin your tile project, planning and preparing your workspace properly is crucial.
Start by measuring the room’s dimensions, including the walls, floors, or other surfaces you plan to tile.
Once you have precise measurements, create a layout plan to help you determine the tile size and pattern that best fits your space.
Next, examine the surface on which you will install the tiles on. Repair any damages or uneven areas to ensure a smooth and uniform surface for installation.
Proper surface preparation is essential for a successful tiling job.
Selecting the Right Tiles
When choosing tiles, consider the material and the room’s purpose and design. Some popular tile materials include ceramic, porcelain, and natural stone tiles.
Ceramic tiles are affordable, while porcelain tiles are more durable and waterproof, making them ideal for wet areas like a bathroom.
Natural stone tiles like marble and granite add a touch of luxury but may require additional care.
Keep in mind the room’s function in your interior design. For instance, consider using slip-proof tiles in a bathroom for safety.
Don’t forget to think about the desired aesthetics – mosaic tiles or a diagonal pattern can add visual interest to your space.
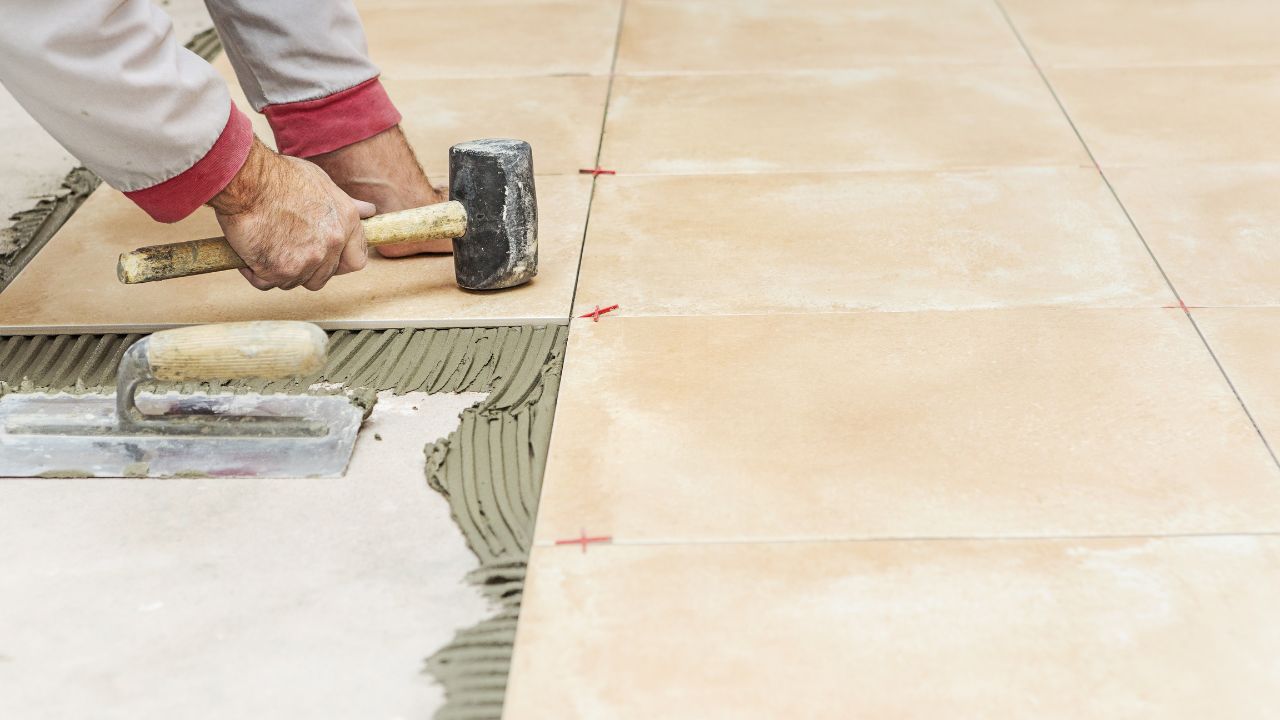
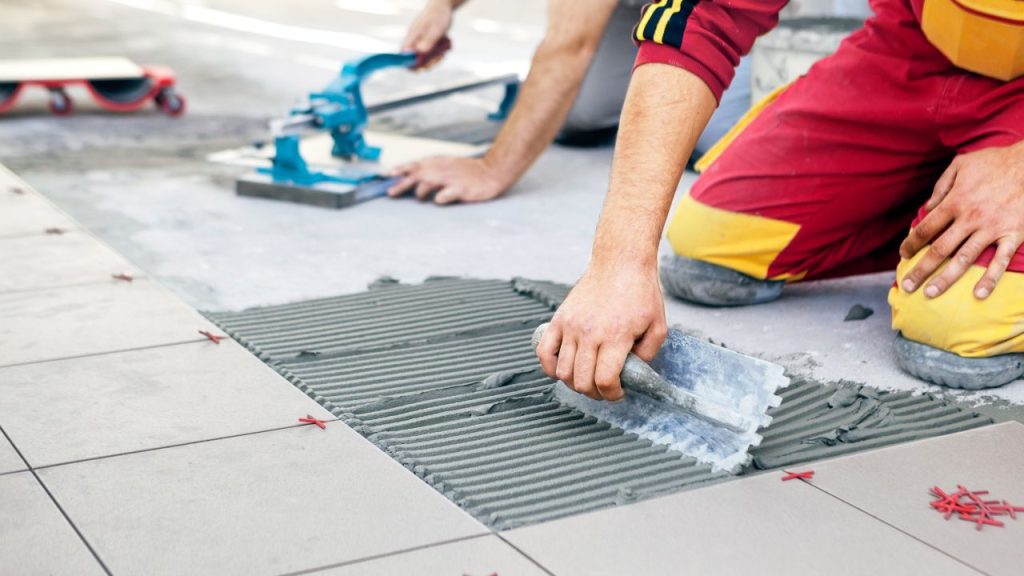
Proper Tools and Materials
To ensure a polished look and a stable installation, it’s important to use the appropriate tools and materials during your DIY tiling project.
Some essential tools include tile cutters, spacers, trowels, and grout floats.
Familiarize yourself with the proper techniques for using these tools to help minimize tile cuts and achieve a professional finish.
Another crucial aspect is choosing the right type of tile adhesive and grout. Different tile types may require specific adhesives, so use the one recommended for your selected tiles.
Moreover, use waterproof adhesive and grout for wet environments like bathrooms.
By paying close attention to planning, selecting the right tiles, and using the proper tools and materials, you can successfully complete your DIY tiling project and elevate the look of your room.
READ MORE:
- Trending Kitchen Tile Designs
- Best Tile Underlayment
- Understanding Rectified Tile
- Bathroom Trending Tiles
- Pros and Cons Travertine Tiles
2. The Don’ts of Tiling a Room

Skipping Surface Preparation
You may be eager to start your tiling project, but take the vital surface preparation step.
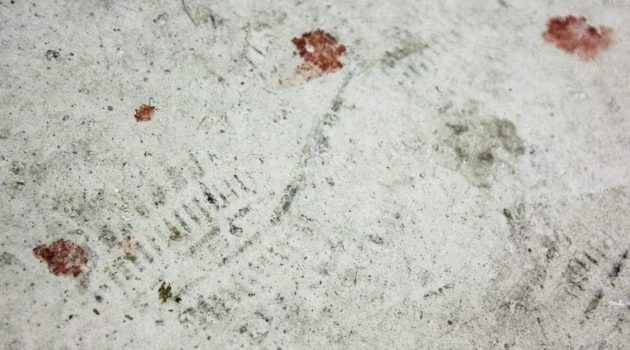
Taking time to clean, level, and remove debris from the surface ensures a proper bond between tiles and the floor or wall.
Neglecting this step may lead to mold, poor tiling, and reduced practicality, so pay attention to proper underlayment or removing linoleum if necessary.
Rushing the Project
As a DIYer, allocating enough time for your tiling project is essential.
Patiently executing each step, from surface preparation to grouting, prevents common mistakes and results in a better finish.
Avoid tile projects when you’re under tight deadlines to ensure your tiled surfaces are properly aligned, have non-slip tiles where required, and are free from cracks and leaks.
Improper Tool Usage
Having the right tools is important for your tile project’s success. Using improper tools or misusing the correct ones could lead to uneven tile application, cracks, and damage to the tiles.
Invest in tools like a tile cutter, trowel, and leveling system to achieve a professional-looking result.
Neglecting Expansion Joints
Expansion joints may look boring, but including them in your project is essential.
They provide space for tiles to expand and contract due to temperature changes, preventing them from cracking or dislodging.
Be sure to follow tile manufacturer guidelines on the number and placement of expansion joints, especially when working with large format tiles.
Neglecting Sealing
Grout sealing is often an overlooked step, but it’s crucial for maintaining the appearance and functionality of your tiled surfaces.
Unsealed grout can absorb moisture, leading to mold growth, leaks, and damage to the underlying substrate.
Utilize a waterproofing membrane and seal your tile grout appropriately to maintain a clean, water-resistant surface.
3. Tiling Techniques and Tips
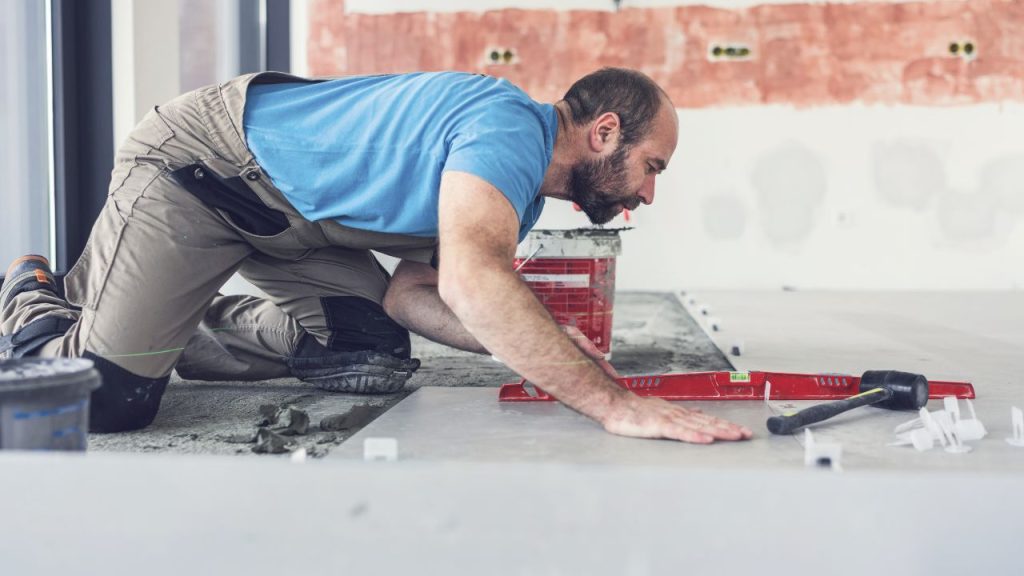
Layout Planning
Planning your tile layout is essential to achieve a balanced and aesthetically pleasing result. Begin by measuring the dimensions of your room and determining the center point.
Draw a reference line close to the center to serve as a guide. Then, lay out the tiles to visualize your design.
If you opt for a diagonal pattern or use large tiles, minimize tile cuts for a professional look.
Cutting Tiles
Cutting tiles accurately requires the right tools and techniques. Use a tile cutter or wet saw for precise cuts.
Always measure and mark carefully when cutting tiles, ensuring the cuts fit perfectly within your layout.
Take your time and be patient as rushing the process can lead to mistakes and waste of materials.
Applying Grout
Grouting is essential for securing your tiles and giving them a polished finish. Start by choosing the right type of grout for your project.
During the tiling process, use spacers to ensure even gaps between each tile. When applying grout, use a rubber float to press it firmly into the joints at a 45-degree angle to the tiles.
Make sure to fill all gaps and remove excess grout with a damp sponge or cloth, avoiding any build-up or residue on the tile surface.
Sealing Grout
Sealing your grout is vital to protect it from mold, mildew, and water damage.
Clean the surfaces thoroughly after your grout has fully cured (follow the manufacturer’s instructions for exact curing time).
Apply a waterproofing membrane or sealer to the grout lines to create a barrier against moisture. This will help maintain the integrity and appearance of your tiled area for years.
4. Maintenance and Long-Term Considerations
Ventilation and Safety
Proper ventilation is crucial in any room where tiles are installed, especially in wet rooms. Good ventilation helps prevent the growth of mold and mildew on tile surfaces.
Make sure your wet room has adequate ventilation, either from windows or a ventilation system.
Also, prioritize safety by choosing slip-proof tiles with a high slip resistance, especially in wet areas like bathroom floors and wet room installations.
It’s essential not only for your comfort but also for your safety.
Weight and Furniture Considerations
After tiling your room, you must consider the weight of furniture and other items placed on the tiled surfaces. Heavy furniture can cause cracks or damage to the tiles if not correctly distributed.
For example, when placing a heavy item on a tiled floor, use furniture pads or coasters to help distribute the weight more evenly.
This will protect both your tiles and your furniture. In addition, avoid dragging heavy items across the tile floor, as this may scratch or damage the tile surface.
When to Seek Professional Help
Although DIY tile installation can be a cost-effective option, knowing when to call in the professionals is essential.
If you encounter complex drainage and waterproofing solutions, require a tanking membrane, or work with large-format tiles, a professional tiler’s expertise can ensure the job is done correctly.
If you need clarification on any aspect of tile installation, it’s best to consult with an expert in interior design or tiling services.
This will ensure your room is not only visually appealing but also safe and functional for years to come.