We usually choose tiles based on their sizes, materials, and colors.
However, when you hear the word rectified tile, what comes to your mind? Some buyers may wonder about the term’s meaning, but it is a very common thing in tile making industry.
Learn about the facts of rectified tiles here to make the best shopping decision.
1. What is Rectified Tile?
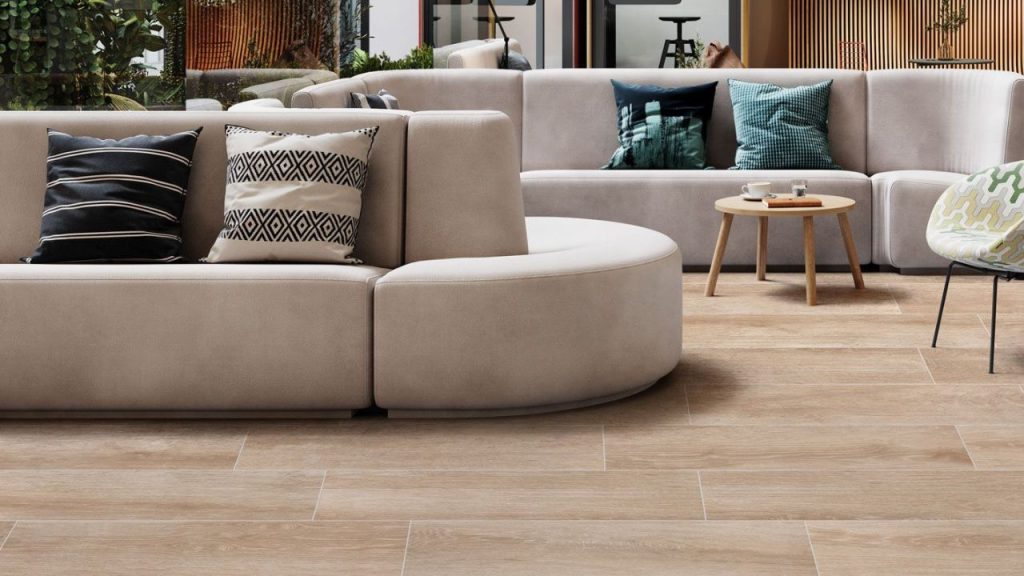
Rectified tile refers to (usually clay-based) tiles that have straight edges, due to precise grinding or cutting process.
The process is common in ceramic or porcelain tiles, and manufacturers usually do it before the firing process. When seen up close, you will see that the tile edges are smooth and straight.
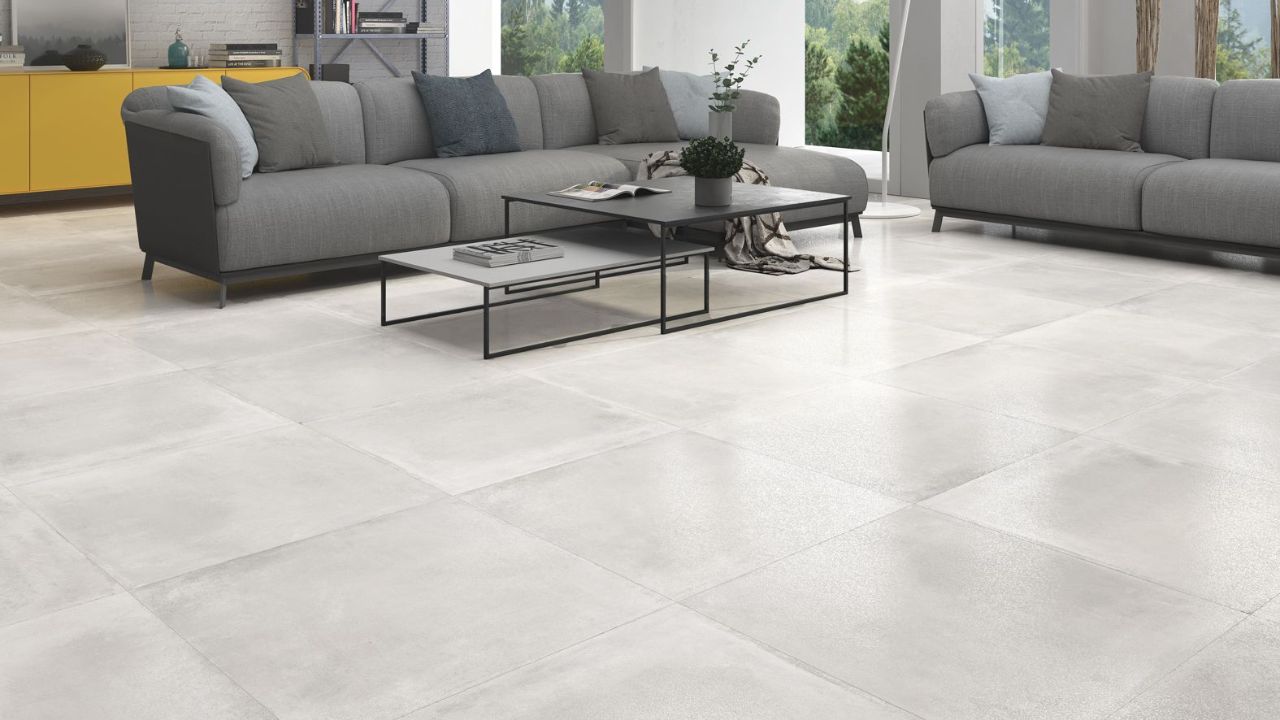
You will see the difference between rectified and non-rectified tiles when they are installed. A floor that consists of rectified tiles will have an almost seamless surface.
The lines that are usually visible between tiles become subtler because of the smooth, straight edges. However, the seamless look is not the only goal in tile rectification process.
2. Reasons to Make Rectified Tile
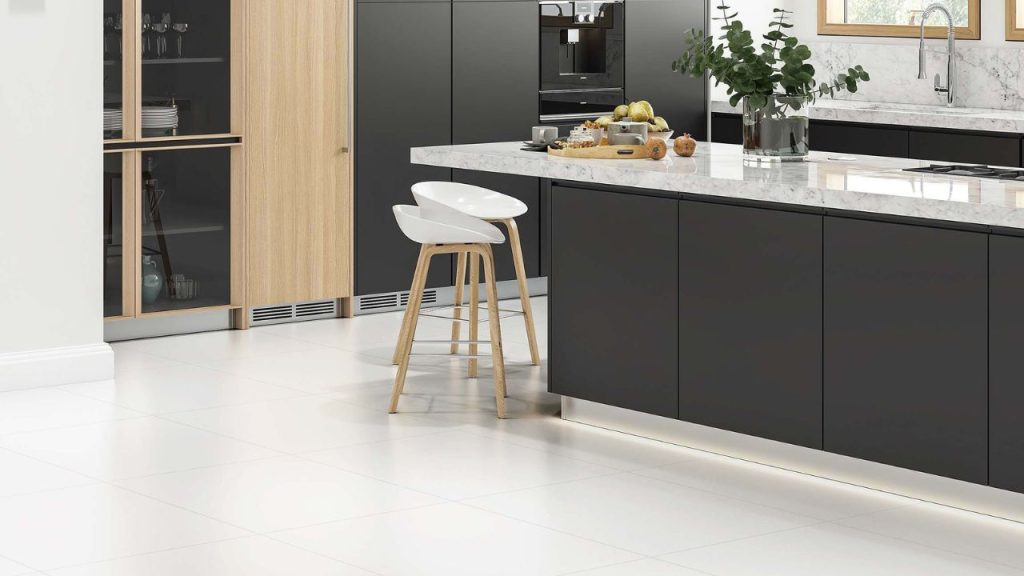
Seamless look is not the only reason manufacturers make rectified edge tile. This procedure is used to create a more uniformed size in ceramic or porcelain tiles.
Because they are clay-based, they need to be fired to harden the texture.
Firing process sometimes create slight distortions or size changes in these individual tales. Edge cutting process is done to reduce this inconsistency.
Another reason to make such tile is to create an easy installation process. Inconsistent sizes can cause difficulties in installation, especially if the room has awkward angles.
Rectification process creates “standard sizes” for tiles, which you can find depending on your project needs.
3. Grout Line Sizes and Rectified Tiles
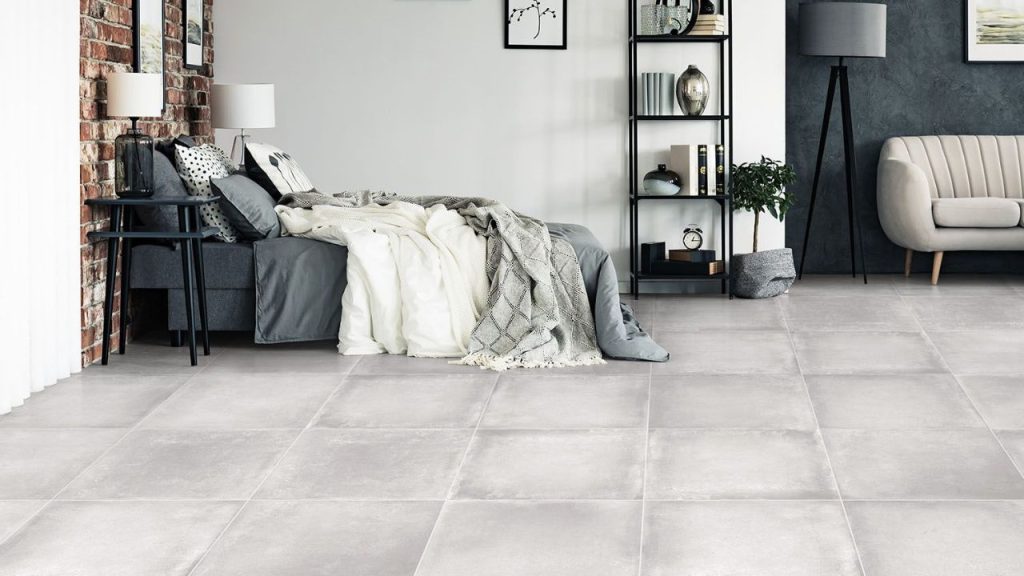
Rectified tile meaning also reflects the sizes of its grout lines. The straight edges are making it easy for installers to create smaller grout lines.
Typical grout line sizes range between 1.5 mm and 3 mm.
The 3 mm lines give a subtle look, but the lines are still visible, although not as prominent as regular tiles (which often show “cushion edges” due to large grout lines).
If you aim for an almost seamless look, the tiles must be installed with 1.5 mm-wide grout lines.
Getting the perfect installation result with this grout line size can be difficult, especially if you are not a professional.
Stick to the commercial installer for this task, especially if the tile store offers installation service as a purchase bonus.
READ MORE
- Best Tile Underlayment: Different Types & Installation Process
- Pros, Cons, and Costs of Floor to Ceiling Windows
- Coffee Station Ideas to Make Caffeine Addicts Happy
4. Pros and Cons of Rectified Tiles
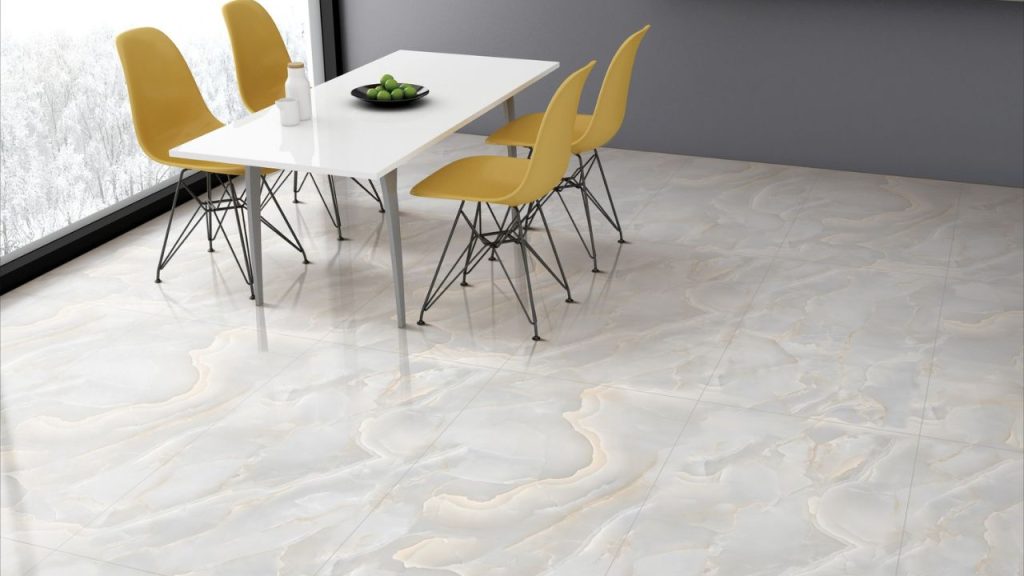
Should you install rectified tiles? Whether you use rectified porcelain tile or ceramic, make sure to consider the pros and cons of these tiles.
Pros of Rectified Tiles
- Offer soft, almost seamless look, suitable for modern home design
- Straight edges and grout lines, perfect to create a neat look
- Perfect for both small and large rooms
Cons of Rectified Tiles
- More difficult to install than regular tiles, especially with small grout lines
- Unsuitable for uneven wall or floor surface
- Prone to chipping, especially the corners
- Only available in certain sizes (the standard minimum size is 300×300 mm)
Rectified tiles are usually more expensive than regular ones.
However, the price also depends on other factors, such as the sizes, material quality, colors, and additional services you may pay.
5. Tips to Install Rectified Tiles
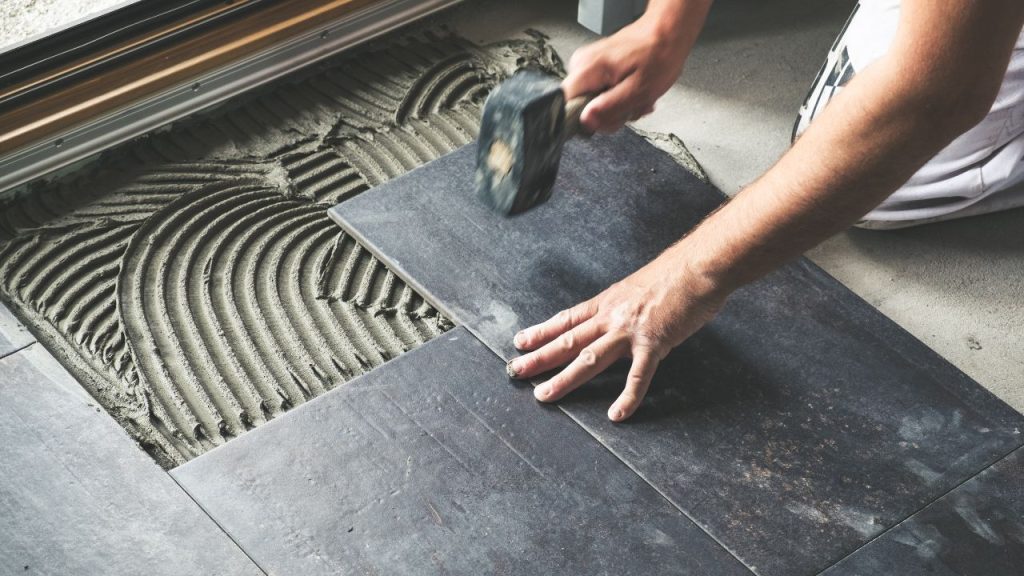
Rectified tiles can be difficult to install, so most people choose to use professional service. However, if you have the trade, why not trying it yourself?
Here are several tips to ensure perfect installation of rectified tiles at home:
Check for moisture movement
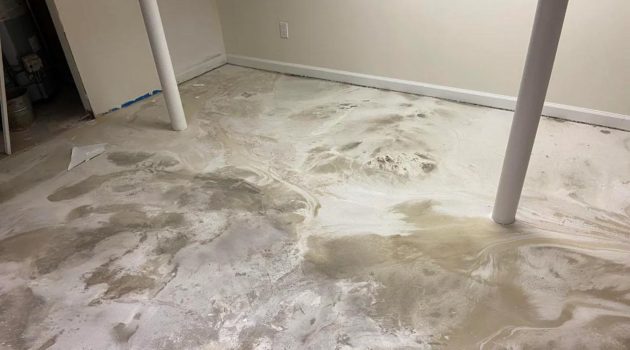
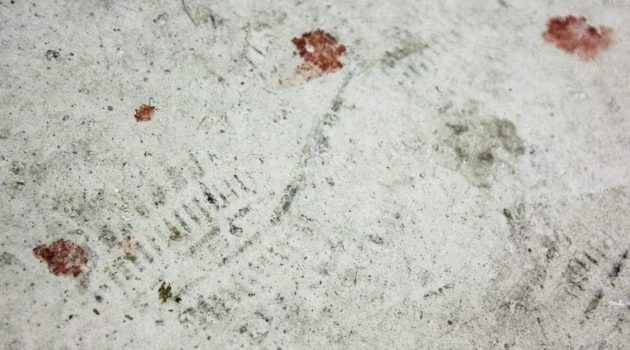
A floor sometimes shows the signs of efflorescence, which is moisture that slowly moves upward through concrete or cement slabs. It can result in white stains and spots between grouts after you install the tiles.
You can solve the problem with acid washing (floor grade), special cleaning product with balanced pH, and waterproof layer installation.
Make sure the substrate is flat
Substrate is a term for flat layer right under the outer finish. This layer functions as a stabilizer, supporting the exterior layer and create even finish.
However, your substrate layer must be flat from the beginning before you install the rectified tiles. This is important, especially if the tiles are large.
Create a stable substrate layer
If your floor is uneven, create flat and stable substrate first. Concrete or cement is the best option, but if you only have plywood, use at least two layers of wood.
Use guide lines and start from the center
There are two basic wisdoms in installing tiles: always use guide lines and start installing from the center. This way, it is easy to fill an entire room based on orientation.
Start from the back of the room and continue to the main exit.
When applying grout, make sure to wipe the excess immediately. Use a floater for application and cleaning.
Wait five minutes after installation to wipe down the newly-covered area with a wet sponge.
READ MORE:
- Types of Hardwood Floors
- Floor Plan Creators
- Bamboo Flooring Pros and Cons
- Travertine Tiles Pros and Cons
6. Design Tips with Rectified Tiles
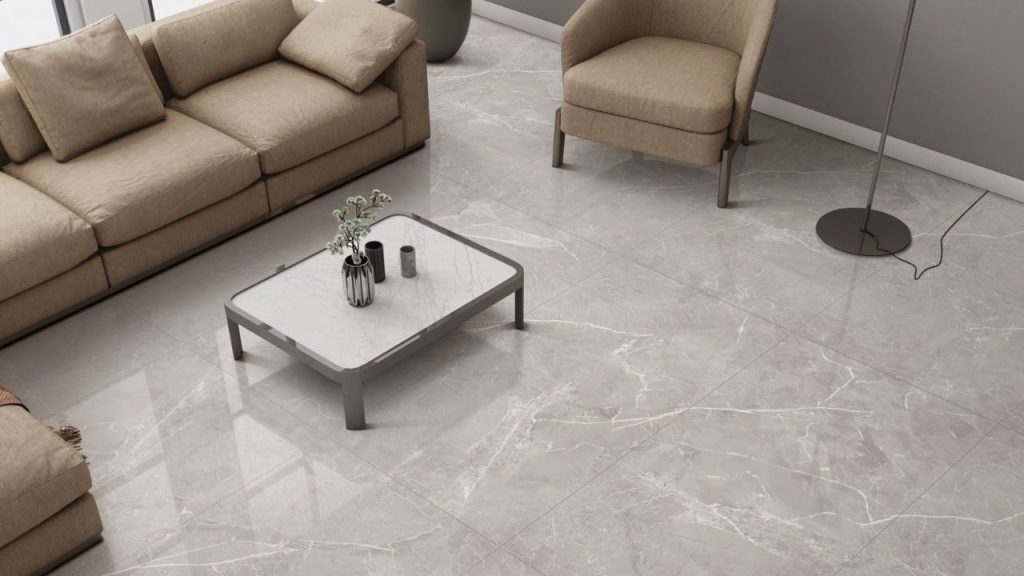
There are several unique ways you can use rectified tiles to create good designs. Here are some examples:
Play with subtle textures
Rectified tiles are large and seamless, which will make the room look larger. If you are afraid that the room will look “empty”, choose tiles that have subtle but visible textures.
You can also use soft patterns to fill in the visual gaps.
Use mosaic tiles to decorate
Mosaic tiles create splashes or colors on an otherwise seamless surface. You can use smaller tiles with contrasting colors to create patterns or edges between large tiles.
Use contrasting colors for different surface levels
Seamless tiles may cause confusion or even an accident when a person cannot tell the difference between two surface levels.
Use different tile colors or even border patterns to create these distinctions.
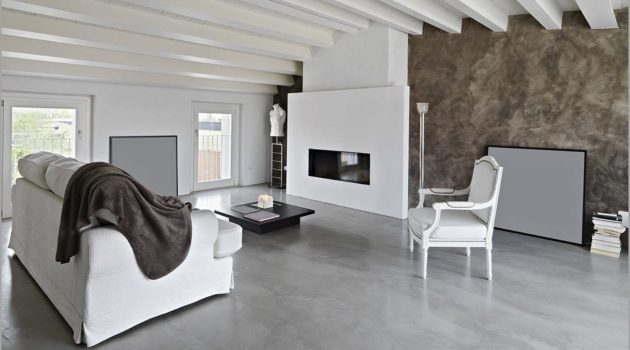
You can create your own design using these principles. Create modern, sleek, elegant look with subtle rectified tiles.
Rectified tiles are only available for the clay-based varieties, created to give seamless grout lines after installation. However, they are not necessarily the best options for a floor or wall.
You can consider rectified tile installation if you have enough space, flat floor, and extra money for the product (including for professional installation).
Use this tile to get the subtle and elegant look without buying natural stone tiles.
