Resin has taken the craft world by storm in recent years. From large countertops to simple pendants or outrageous projects, like creating an illusion of a burning candle inside a translucent resin block, you can do it all with resin.
Unlike other mediums like glass or wood, epoxy resin can be used in a multitude of ways.
You can either work with a mold or go without one; the flexibility of epoxy resin allows for endless possibilities.
Up until a few years ago, epoxy resin was known only for its adhesive property. But now, from Pinterest to Instagram, you can see all kinds of new, exciting resin crafts.
Using resin might seem pretty simple. You just have to mix the hardener with resin and pour.
However, there are numerous small details that beginners need to pay attention to.
Whether you want to launch a new business with resin crafts or just present your friends with some unique handmade gifts, you need to learn how resin should be used.
A. Workspace Basic
Epoxy resin is a chemical compound that solidifies when you leave it for curing. When it hardens, it produces heat. You can check out the Epoxy Resin Guide by resin-expert.com for more in-depth information about epoxy resin.
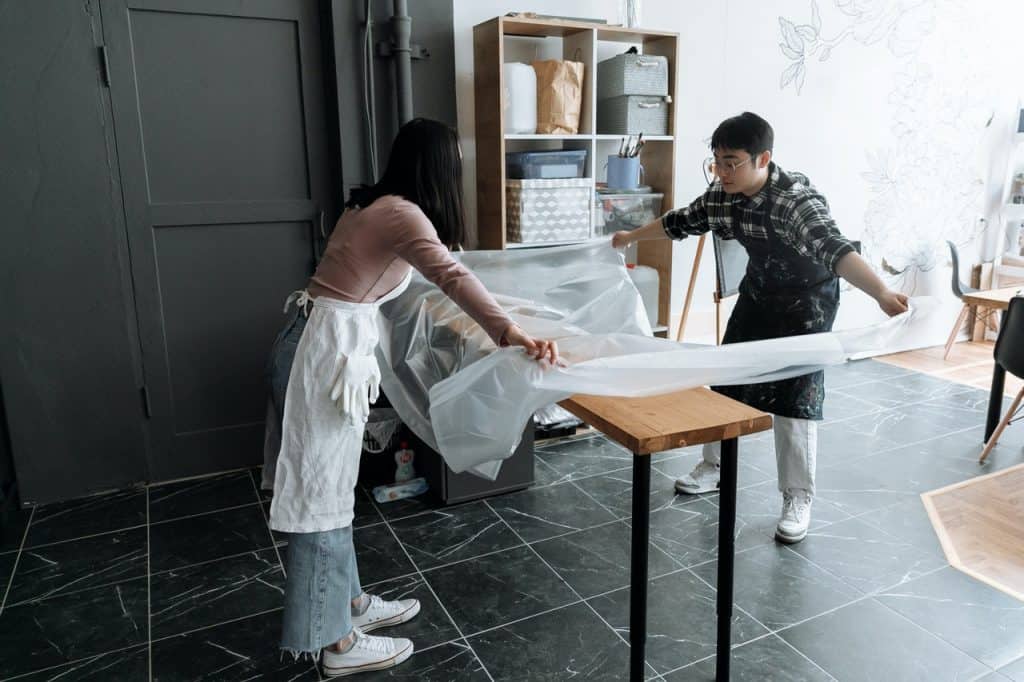
When you work with epoxy resin, you need to be in a well-ventilated room. As it is fundamentally a chemical substance, you don’t want the fumes to stay inside the room.
Another thing to note is you need to have a level work surface. As epoxy is primarily a liquid, if your worktop is not level you will end up with uneven depth, with some resin pooling at one side and staying thin on the other side.
The temperature in your workspace should also be regulated, preferably around 75 degrees Fahrenheit. If it’s too cold, the mixture won’t incorporate properly and might form air bubbles within it.
B. Essential Supplies

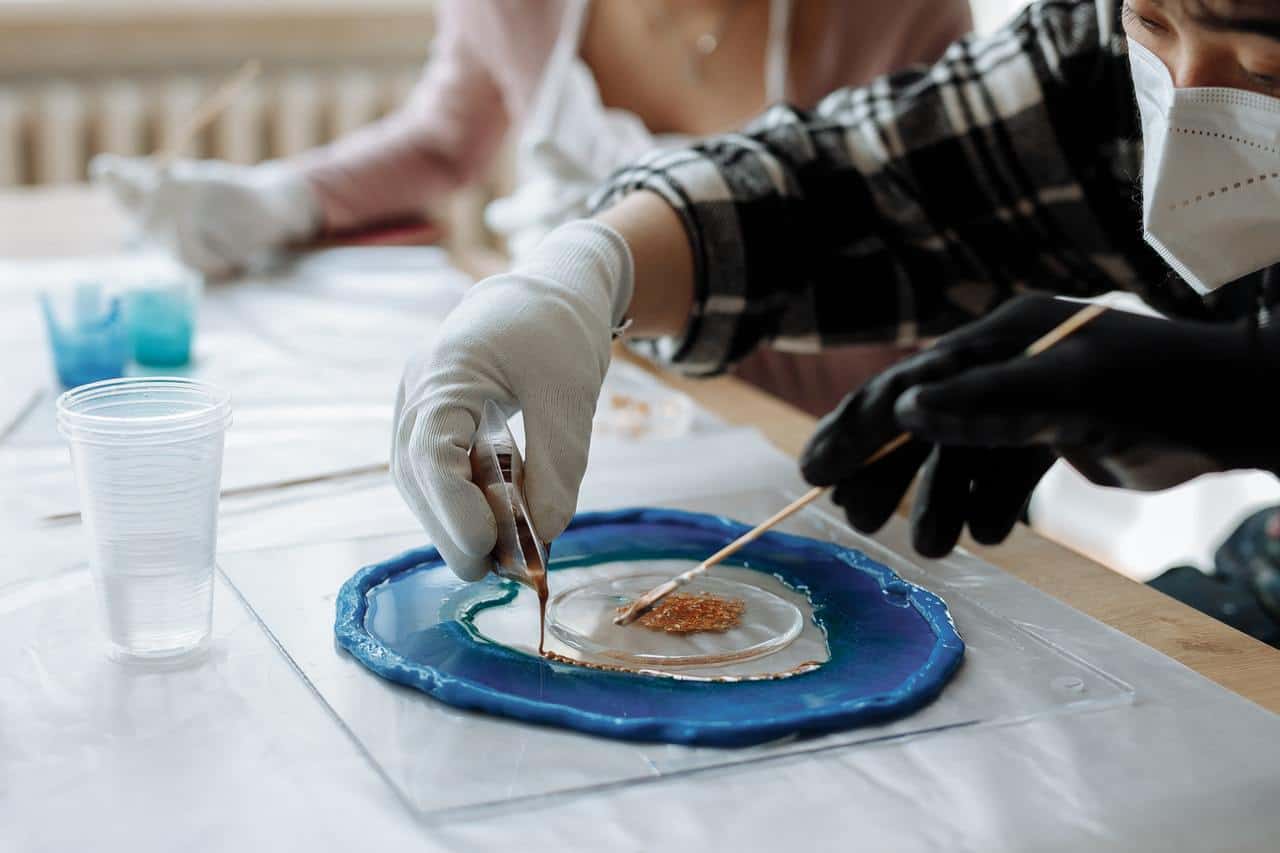
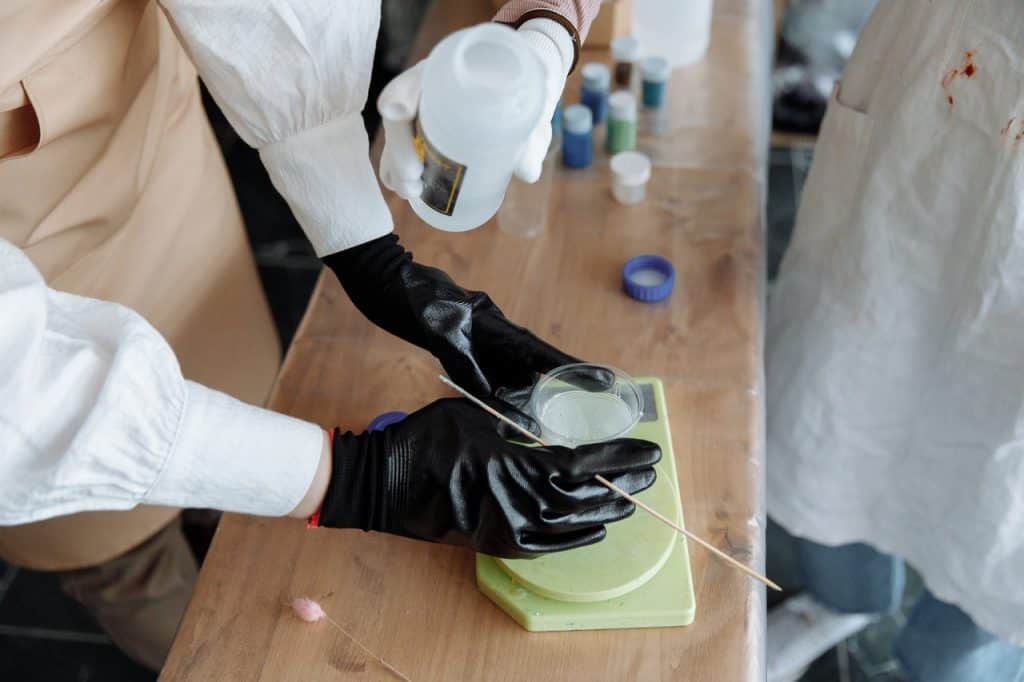
Since you will be working with chemicals, you need to have some protective gear. As we have mentioned earlier, the resin is an adhesive substance and a strong one.
You can almost never remove resin once it settles on a surface. So you need to protect your skin and work surface.
These are some essential supplies that you will need while working with resin:
- Face mask
- Reusable hand gloves
- Plastic or silicon measuring/mixing cups (various sizes, depends on your work)
- Wooden popsicle sticks or reusable silicon sticks for stirring the mixture
- Heat gun for removing air bubbles
- Rubbing alcohol to get rid of resin where you don’t want it (whether it’s your skin or the work surface)
- Paper towel to apply the rubbing alcohol
- Silicon mat
C. Mixing
Mixing is the hardest part of resin work and the place where you run the biggest risk of ending up with a botched project.
If it’s not properly mixed, your resin might not cure, be sticky at some parts, or be full of air bubbles, making the product blurry in appearance.
Here are the things you need to pay attention to when you are mixing resin.
1. Be Precise with the Proportion
Most resin packages recommend mixing resin and hardener in a proportion of 1:1. But depending on the brand, there might be some exceptions.
So you need to read the instructions before you start mixing anything.
While pouring, you might notice that the resin is thicker than the hardener. The hardener is almost a liquid, so it will pour easily from the bottle, and you need to make sure not to overpour it.
2. Don’t Rush the Mixing Process
Most rookie resin artists make a grave mistake when they mix. They get over-excited with their work and end up mixing the resin and hardener too fast.
As it has been mentioned earlier, the resin is just a chemical, and you need to give it time to form a bond between the two components.
When you stir them too fast, you actually end up incorporating little pockets of air within the mix, and once those air pockets develop, they are hard to get rid of.
Air bubbles will make the final product blurry, and it’s definitely not the transparent glass-like appearance that you want from resin.
You need a minimum of three minutes of steady, slow stirring to properly mix the resin.
While stirring, make sure you are incorporating every part of the mixture, scrape the bottom of the cup, scrape the sides, and do it in a slow, steady motion.
It might require you to develop patience, but the final product will be worth it.
Once the mixture gets clear and transparent, you might think the resin is ready for use. However, you need to keep stirring until there are no little white specks floating in the mixture.
Once it looks perfectly clear, it is ready. After you prepare the mixture, you have 30-45 minutes to use it before it starts to cure. This is known as pot time.
3. Mold
If you are working with a mold, you can use either silicone or plastic. Silicone molds are more flexible and also cost less than plastic ones.
Silicone molds are also easy to release, so once the resin is cured, it takes less effort to get them out. To get unique shapes, you can also use silicone candy molds.
Most resin molds have a shiny interior, and that has an interesting advantage. If the interior is shiny, your product will have that same sheen, which is more desirable than a matte finish.
4. Adding Inclusion
Inclusions are the pieces that you can embed in your resin work. They can be real flowers, petals, glitters, or miniature figurines, or even printed words or symbols.
The inclusions create an illusion of depth in your resin work, making it ethereal.
You can either add them in a single layer or create a different resin layer. Make sure no bubbles form when you add the inclusions. You can also add acrylic colors to your resin mixture.
5. Curing
Curing is another test of your patience. Most resin work needs about 24 hours to cure. However, depending on the quality of your mixture, this can vary a bit.
One way to check whether your work is properly cured is to pour the same mixture into another small test mold or surface at the same time you prepare the actual mold.
That way, you can check the test mold and decide whether the real work has been cured or not without ruining the final project. You can also keep the resin pieces at a warm temperature to speed up the curing process.
The Bottom Line
Working with resin is quite fun once you get the hang of it. However, you need to be precise when you are measuring out the mixture and be patient when you are mixing and curing.
Don’t get frustrated if your first few attempts end up failing. Just try to enjoy the process, and with time, your crafts will be perfect.
Be warned, though: Resin art is quite addictive, and the thrill of peeling off the mold to retrieve a perfect piece might get you hooked. You might even be tempted to try out new projects every day!