Updating your home’s exterior with new siding is a great way to improve its appearance and increase its value.
Whether you’re looking to refresh the look of your home or replace old, damaged siding, understanding how to properly remove and install siding can save you money and give you a deep sense of satisfaction.
It’s a project that can be tackled by most DIY enthusiasts with the right tools and a bit of patience.
Removing old siding is the first step, and it’s important to do this carefully to avoid damage to your home’s structure or the existing moisture barrier.
Vinyl siding is typically attached with an interlocking strip-and-lip channel system, so you’ll be working to disengage these pieces.
Keeping the workspace clear of obstacles will make the process easier and safer.
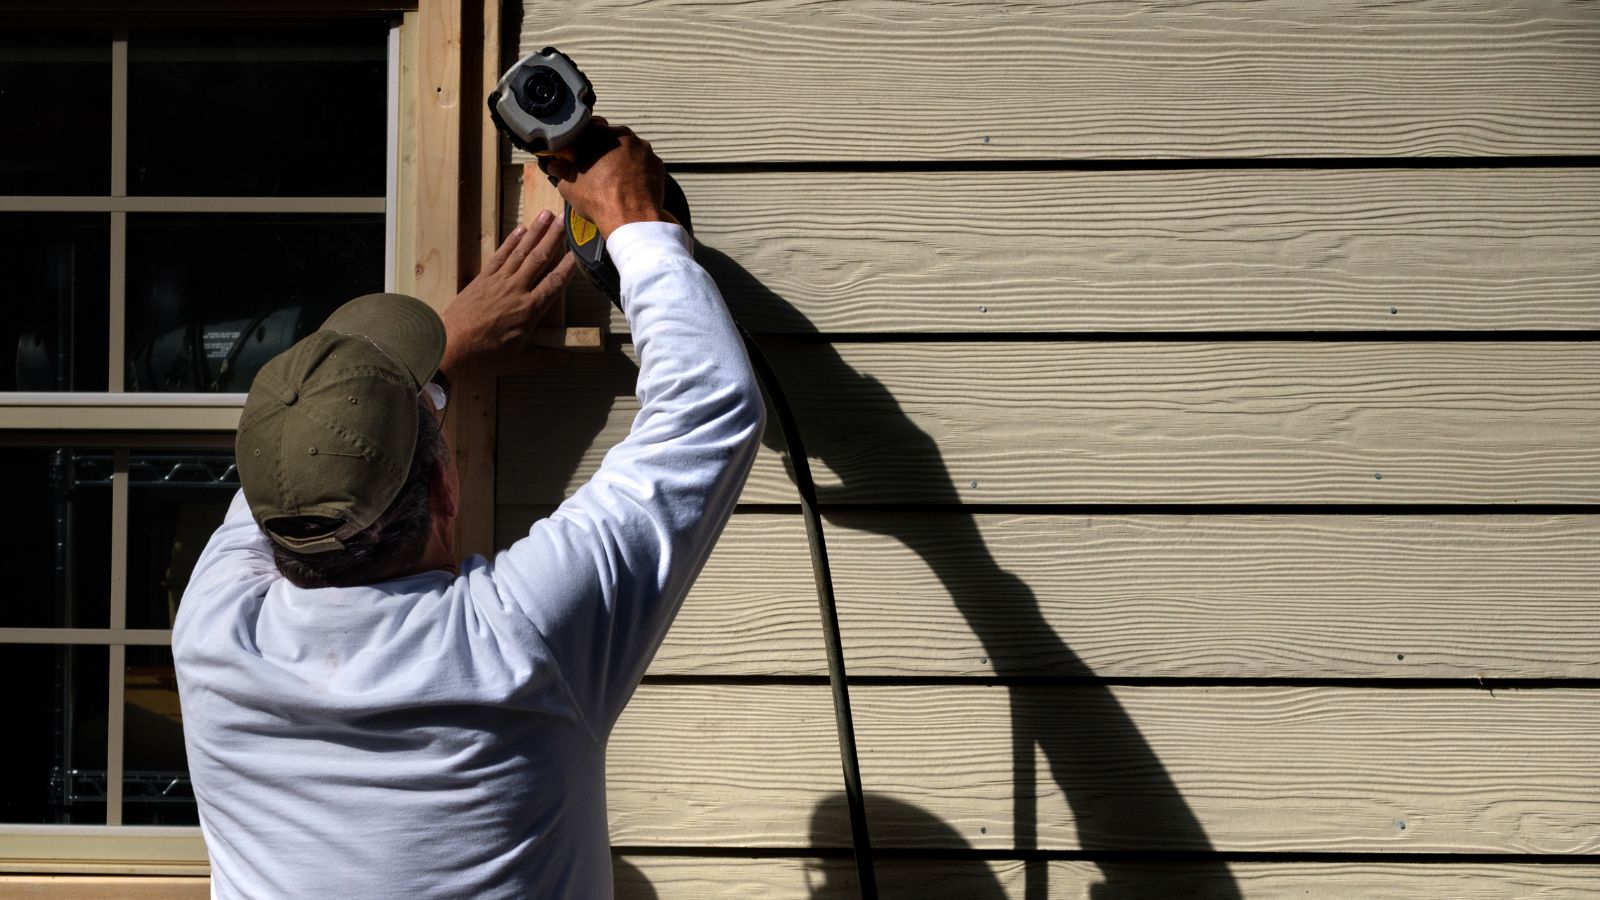
When installing new siding, precision is key. You’ll want to ensure that each panel is level and securely fastened to prevent any water infiltration or aesthetic issues.
Vinyl siding is a durable and low-maintenance option that many homeowners choose for its longevity and ease of installation.
With the correct measurements and tools, you can achieve professional-looking results that will stand the test of time.
1. Preparation and Safety
Before you dive into the project of removing and installing siding, it’s essential to prepare adequately and ensure you’re taking the necessary safety precautions.
Inspecting the Siding and Materials Needed
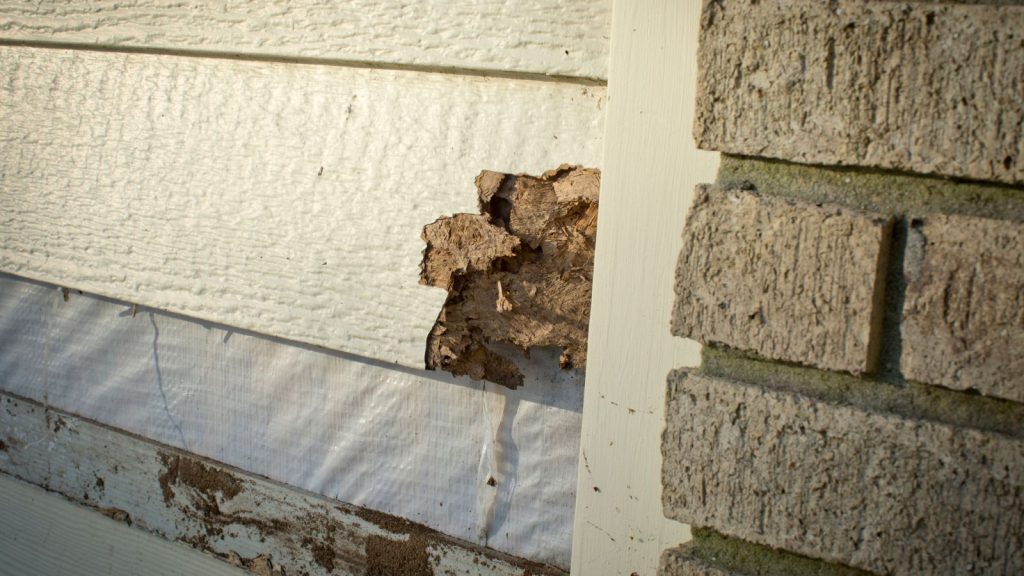
Start by closely inspecting your current siding for any signs of damage or wear.
Look for warped, rotting, or damaged panels, especially in wood siding, which can indicate deeper issues like water damage.
For a successful installation, make sure you have all the materials on hand, including new siding panels, utility trim, and any vinyl siding-specific components if that’s your chosen material.
Tools for the Job
You’ll need a variety of tools to efficiently handle the job:
- Pry bar and siding removal tool: Essential for carefully removing old siding without causing damage to the underlying structure.
- Claw hammer and flat bar: Useful for removing nails and additional leverage.
- Utility knife: For cutting siding and trimming materials to the right size.
- Circular saw: Depending on your siding material, you may need a saw to cut wood or vinyl panels to size.
- Ladder: To safely reach higher sections of your house.
Here’s a quick checklist for your convenience:
| Tools | Purpose |
|---|---|
| Pry bar | Removing old siding |
| Siding removal tool | Aiding in vinyl siding removal |
| Claw hammer | Nail removal |
| Flat bar | Leverage and additional prying power |
| Utility knife | Cutting and trimming |
| Circular saw | Cutting panels to size |
| Ladder | Safety for high access |
Safety Measures
Your safety is of the utmost importance:
- Always use a sturdy ladder when working at height, and ensure it’s securely placed on a level surface.
- Wear thick gloves to protect your hands from sharp edges and splinters.
- Protective eyewear is crucial to guard against flying debris.
- When cutting siding or using power tools, use hearing protection.
Remember, if you’re not confident in tackling this project on your own, professional siding services are available to help ensure the job is done safely and correctly.
2. Removal of Old Siding
Before installing new siding, you need to carefully remove the old materials to prepare your walls for a fresh installation.
The process involves removing nails and fasteners, which holds the existing panels in place, and then detaching the siding panels with the proper tools.
Removing Nails and Fasteners
- Identify Nails and Fasteners: Check for visible nails and fasteners that are securing the siding to your house’s walls.
- Required Tools: Arm yourself with a sturdy pry bar and a hammer; alternatively, a nail puller can also be quite handy for this task.
- Safety: Always wear gloves to protect your hands and goggles to safeguard your eyes from any flying debris.
- Technique: Slide the pry bar under the head of the nail, and use the hammer to gently tap it, leveraging the nail out. For stubborn nails, wiggle the pry bar under the nail’s head and rock it to loosen the nail.
Detaching Siding Panels
- Start from the Top: Begin at the top of your siding and work downwards to prevent damage to the underlying materials.
- Gently Loosen: Use your utility knife to cut any caulk lines or sealant around the siding edges, if necessary.
- Remove Siding: Grip the bottom edge of the siding panel and carefully pull outward and up to unhook it from the one below. Insert the pry bar between the panels to gently separate them if they resist.
- Prevent Damage: Proceed with caution to avoid breaking the panels, especially if you’re dealing with brittle materials like old vinyl or hardboard siding.
- Inspect for Damage: Once panels are removed, inspect the walls for any signs of wood rot or damage. Making repairs at this stage is crucial before new siding goes up.
By systematically removing nails and detaching siding panels with patience and care, you’ll have a clean canvas ready for your new siding.
3. Installing New Siding
When you’re ready to install new siding, there are important steps to ensure longevity and performance, particularly with materials like vinyl and fiber cement.
Your groundwork with sheathing and insulation is just as crucial as the careful cutting and fitting of the siding and its secure attachment to your home.
Applying Sheathing and Insulation
Before adding your new siding, you need to apply sheathing to the exterior walls, which provides a flat, nailable base.
Over the sheathing, affix insulation to help increase the energy efficiency of your home.
- Sheathing: Secure sheathing boards to the walls with nails, ensuring seams are tight.
- Insulation: Fit insulation sheets between framing studs, and cover with a weather-resistant barrier.
Cutting and Fitting Siding
The next phase involves measuring, cutting, and fitting your siding, whether you’ve chosen vinyl, fiber cement, or wood.
- Measure the wall area and plan the layout, keeping in mind trim and J-channel placement.
- Cut your siding material to size using tools appropriate for the material—vinyl cutters for vinyl siding or a saw for wood and fiber cement.
- Dry-fit each piece before securing to confirm it fits snugly, especially around windows and doors.
Attaching and Securing Siding
Finally, you’re ready to attach the siding to your home. Secure the siding starting from the bottom and work your way up, ensuring a proper overlap according to the siding type.
- Vinyl Siding: Snap each panel into the nailing hem of the one below and nail in place without driving the nails too tight, allowing room for expansion.
- Wood & Fiber Cement: Panels or planks can be attached using roofing nails, ensuring each is secured to the wall studs.
- Caulking: Apply caulk around windows, doors and where the siding meets the trim for a weatherproof seal.
Consider a professional like siding services in Guelph if you’re any step of the DIY process, or if you require tools and skills beyond what you already have.
Reputable siding companies like those in Guelph can provide expertise make sure the job is done properly.
When replacing siding, make sure to follow manufacturer guidelines for your chosen material to maintain both warranty and the effective lifespan of your siding.
4. Finishing Touches and Maintenance
After you’ve installed your new siding, the final steps are crucial for both aesthetics and longevity.
Taking the time for proper finishing touches and maintenance ensures your home continues to look great and stays protected from the elements.
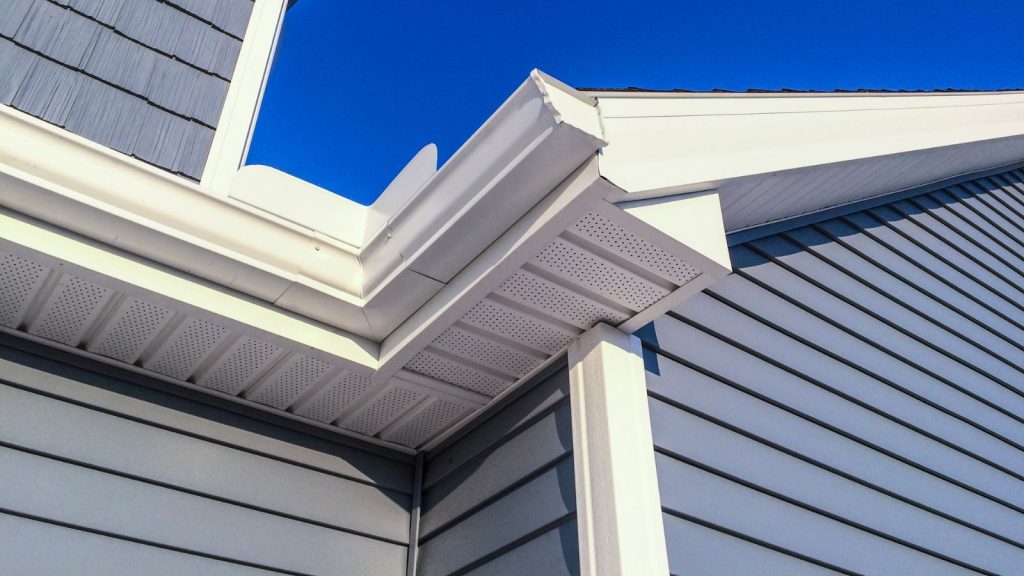
Trimming and Detail Work
Trim acts as a frame for your siding, enhancing its appearance and providing added protection against water ingress.
You’ll want to install the trim around all edges, corners, and openings, ensuring that each piece is cut to the perfect size for a neat finish.
When dealing with fixtures such as vents, make certain the trim does not obstruct them and allows for proper airflow.
Sealing Joints and Fixtures
Applying caulk to seal joints and around fixtures like windows and doors is a key step in protecting your home from moisture and drafts.
Use a high-quality, exterior-grade caulk to fill any gaps where the siding meets trim, ensuring a tight seal that prevents water penetration and energy loss.
Be selective with the caulk, as it will need to withstand various weather conditions and temperature changes.
- To seal joints: Apply caulk smoothly and evenly, wiping away excess.
- Around fixtures: Ensure there’s a continuous seal around the entire fixture without blocking any moving parts or ventilation systems.
Cleaning and Upkeep
Regular maintenance is vital to preserving the state of your siding. Start with gentle cleaning to remove dirt and debris, and then check for any signs of damage that might need attention.
- Gutters: Keep gutters and downspouts clear to prevent water from spilling over and causing damage.
- Paint: Inspect painted areas annually; touch up as necessary to maintain a barrier against moisture.
- Plants: Trim back any plants or bushes to prevent them from holding moisture against the siding, which could lead to decay.
A little attention to these details will help ensure your siding stays looking fresh and continues to protect your home for years to come.