Looking to spruce up your living space with a unique and eye-catching touch?
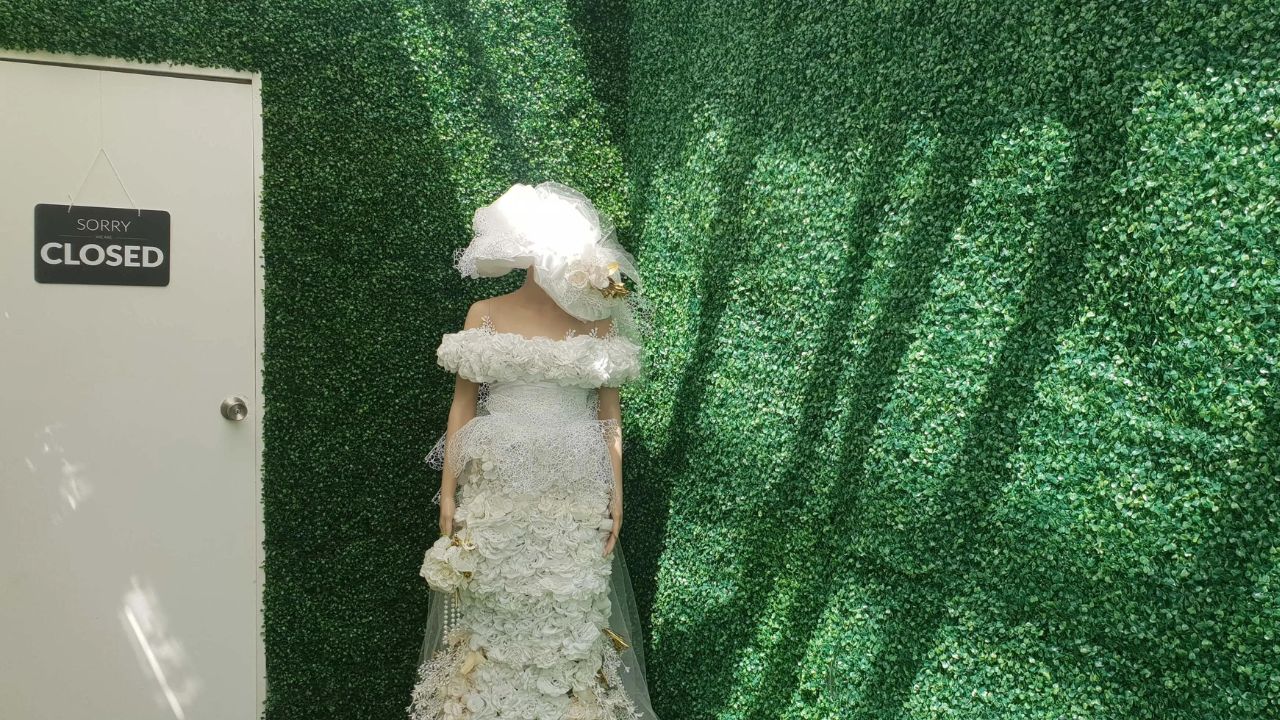
Installing artificial grass on a wall is an innovative way to bring greenery indoors, adding a fresh and modern aesthetic to your home.
Not only is it simple to maintain, but it also provides a natural and calming atmosphere, reminiscent of lush gardens and serene parks.
Before diving into the installation process, it’s important to familiarize yourself with the necessary tools and techniques.
With the right preparation and proper installation tips, you’ll find that transforming your wall into a verdant oasis is a breeze.
Get ready to elevate your interior design game by creating a stunning and vibrant feature wall that will impress your family and friends alike.
In this article, you’ll learn step-by-step how to prepare your wall surface and install the artificial grass securely.
And don’t worry, this guide is designed with beginners in mind, making it accessible for anyone looking to tackle this creative and rewarding DIY project.
So, grab your tools and get excited, because you’re about to embark on a journey towards a greener, more beautiful living space.
1. Materials Needed
Before starting your artificial grass wall installation, ensure you have gathered all the necessary materials and tools. Here’s a list of items you will need:
- Artificial grass: Choose between rolls or tiles, depending on your preference and size requirements
- Adhesive: A strong, weather-resistant adhesive suitable for bonding artificial turf to the wall
- Tape: Use double-sided tape to aid in securing the turf in place
- Staples: For added stability, pick stainless steel staples to hold the turf firmly against the wall
- Staple gun: A reliable staple gun to effectively attach the turf
- Scissors/Utility knife: You’ll need sharp scissors or a utility knife to trim the grass to the desired size
- Base material: Optional – use a base material like sand to fill any gaps between the wall and the turf
- Weed barrier: Optional – if installing on an outdoor wall, you may want to place a weed barrier behind the turf
- Caulk: Optional – apply caulk around the edges to provide a more polished appearance and seal any gaps
Once you have all your supplies ready, you can begin the installation process with confidence.
2. Surface Preparation
Before starting the installation, it’s essential to prepare the wall surface. First, remove any dirt, dust, or old adhesive by thoroughly cleaning the wall.
You can use a garden hose or a damp cloth to ensure a clean surface. For homeowners with pets, it’s particularly important to eliminate any pet hair or debris.
Next, you’ll want to inspect the wall for any cracks or holes. Fill these to create a smooth surface, whether it’s a patio, concrete wall, or garden fence.
This will help the artificial grass adhere more securely and create an even, polished final result.
3. Measuring and Cutting Grass

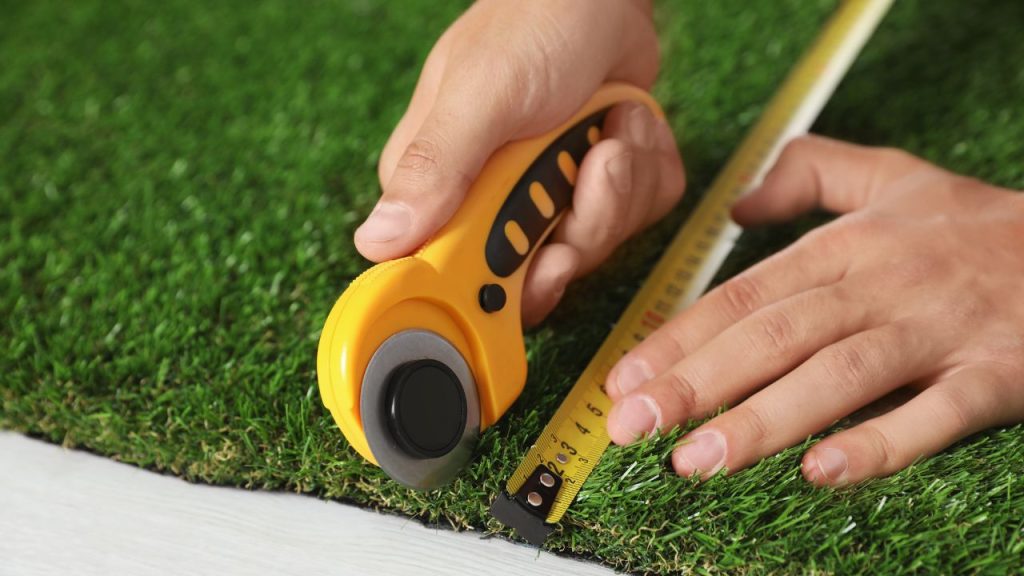
To begin the installation process, you’ll need to measure the wall area where you plan to install artificial grass. This helps determine the square footage required for your landscaping project.
Use a measuring tape to obtain the height and width of the wall in question and multiply these measurements to calculate the total square feet.
Once you have the measurements, unroll the artificial grass and lay it on a flat surface. If you’re handling grass tiles, arrange them in the desired layout.
Using a utility knife or scissors, carefully cut the grass rolls or tiles according to the wall measurements.
It’s a good idea to leave some extra grass hanging over the edges when cutting.
This will provide more room for double-sided tape or adhesive during the installation process and help ensure a snug fit against the wall. The goal is to achieve a natural look, so take your time with the cutting and measurements.
Remember to handle the grass with care and use a sharp utility knife or scissors for precise cuts. Happy installing!
4. Applying Adhesive
When attaching artificial grass to a wall, you should first apply a thick bead of adhesive along the back of the synthetic turf.
This can be done using a caulk gun or a roller, whichever you find more convenient. Make sure the adhesive is spread evenly, as full coverage is crucial to ensure a secure and lasting bond.
Once the adhesive is applied, press the turf carefully onto the wall, ensuring it adheres properly. You can also use adhesive tape or anchors to provide additional support, especially for larger or heavier pieces of turf.
Don’t forget to let the adhesive dry and set according to the manufacturer’s instructions. This important step ensures your new grass wall remains securely in place, perfectly enhancing your chosen space.
READ MORE:
- Pros and Cons of Artificial Grass for Homes
- How to Make Artificial Grass Look Real
- Common Problems with Artificial Grass
5. Installing the Grass
To install your artificial grass wall, start by preparing the wall surface. Make sure it is clean, and remove any loose paint or debris with a soft-bristled brush.
Lay the synthetic turf against the wall, ensuring that the color and direction of the grass fibers are consistent.
Grab your staple gun and begin securing the grass to the wall. Attach it every 6-12 inches along the edges and throughout the center of the turf, and be careful not to damage the grass panels.
Trim excess grass with a utility knife for a natural look.
Press the grass firmly onto the wall, working out any air bubbles to achieve a smooth appearance. Using a roller or wood plank can help ensure full contact with the wall.
If necessary, use cable ties to attach grass panels together tightly.
Remember these tips and follow the installation process properly. Should you require assistance, don’t hesitate to consult a contractor. Happy installing!
6. Trimming and Finishing
To achieve a professional look when installing artificial grass on your wall, trimming and finishing are essential steps.
To trim the excess grass hanging over, simply use a pair of sharp, heavy-duty scissors or a carpet cutting knife.
Be cautious and make sure you’re following the intended shape of the grass panels to maintain consistency in the appearance.
For sealing seams and edges, apply caulk along the perimeter. This will provide a clean finish and help secure the synthetic turf in place.
In addition, using double-sided tape or nails can further stabilize the grass panels, especially in areas where durability is a concern, such as near a fence or high-traffic regions.
Remember, if you’re unsure about any part of the installation process, don’t hesitate to consult with a professional contractor.
A knowledgeable expert can offer guidance on selecting the right blades, texture, and tools to ensure a stunning and long-lasting artificial grass display on your wall.
7. Caring for the Grass
Maintaining your artificial grass wall is a breeze, making it perfect for homeowners and outdoor spaces. The low-maintenance decor item allows you to enjoy its beauty without significant upkeep.
To keep your turf looking fresh, occasionally remove leaves, sticks, and other debris using a broom or garden hose.
For a more thorough cleaning, mix a solution of water and mild detergent to gently wipe away dirt and grime. Be cautious of oil-based products, as they may damage the turf’s appearance.
Don’t forget to check for any loose areas that may need re-sealing. Stay updated with the latest tips and ideas by following relevant sources on Instagram and Pinterest. Happy decorating!


