Have you ever wondered how to craft a personal, eye-catching display of your cherished family memories?
Creating a gallery wall with family photos is more manageable than it may seem.
This post is your guide, packed with valuable tips and tricks to help you create a captivating and sentimental heart of your home.
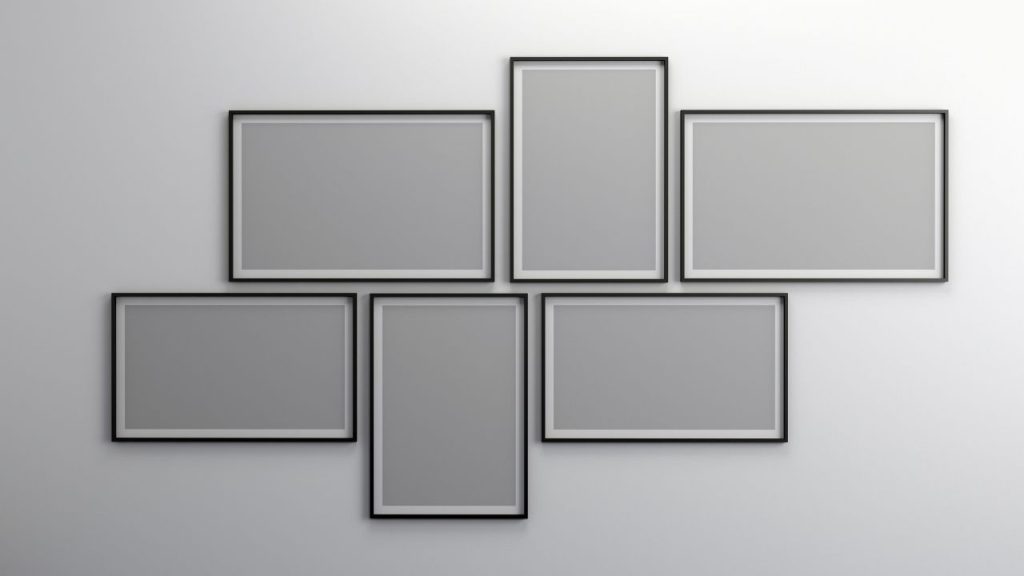
1. Get the Measurements Right
Correct measurements are a critical part of creating a gallery wall. Precise measurements help maintain balance and visual harmony among the displayed photos.
Start by measuring the total wall space you want to cover. This helps you determine the size and number of frames you’ll need.
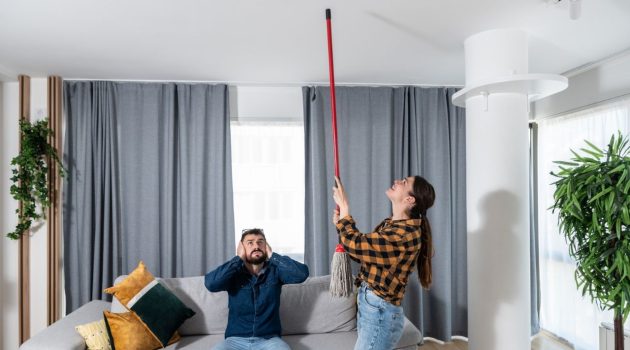
Also, measure the distance between where you want the lowest frame and the floor – usually 57 inches, which is the average eye level.
Consider the space between frames, typically 2-3 inches, for a uniform look.
This may seem meticulous, but it’s worth the effort. Incorrect measurements can lead to a disorganized look, while accurate measurements create a stunning, cohesive gallery wall.
This will help you get those high-quality picture frames you want to hang fit right in. Just like a good recipe, the right measurements are key to the perfect!
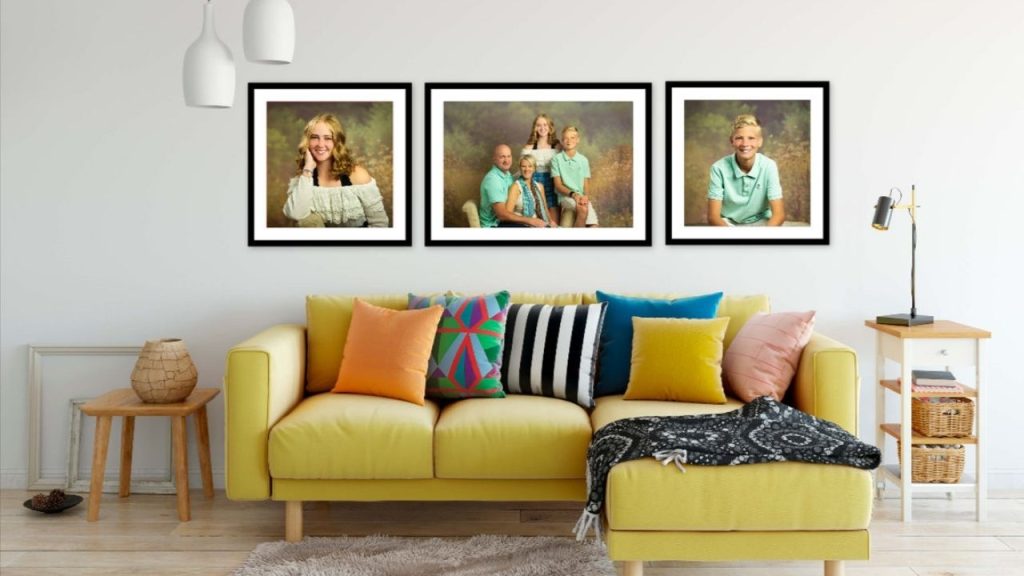
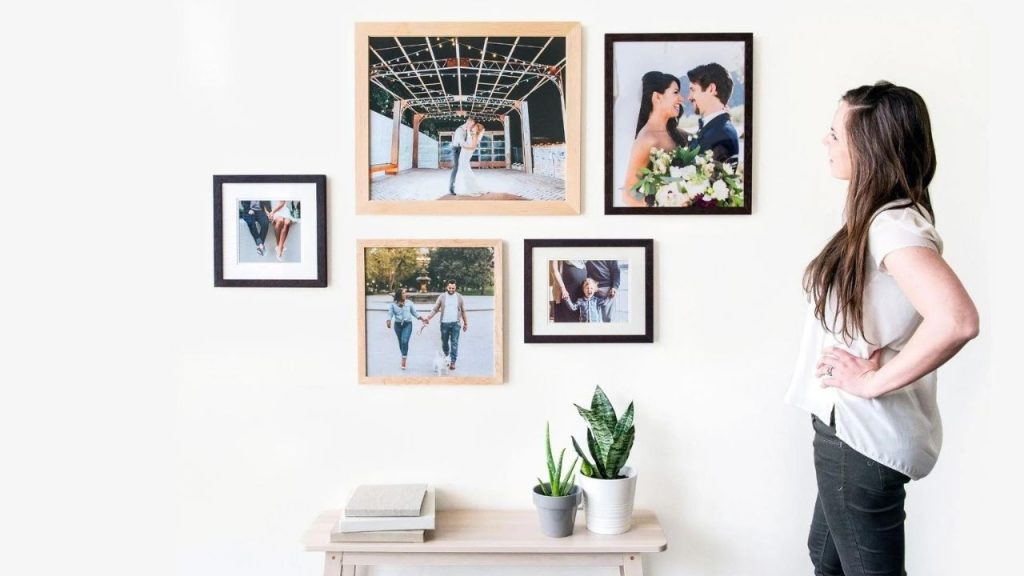
2. Select and Curate Photos
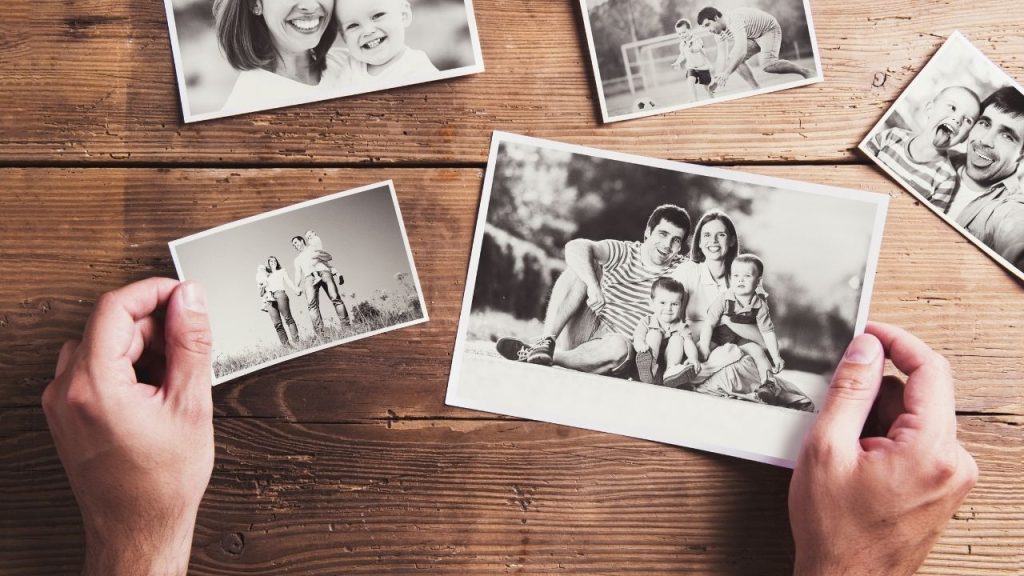
Choosing the right photos is an integral part of creating your gallery wall. Start by selecting photos that hold special meaning or evoke warm memories.
Then, curate a diverse range of images varying in size, subject, and color palette. This variety adds visual interest and keeps the eye engaged as it moves around the wall.
Consider the overall color scheme of the area where the gallery will be displayed and ensure the hues in your photos complement it.
Photo curation isn’t merely about picking pictures; it’s about creating an aesthetic harmony and visual narrative that speaks to your family’s unique journey.
This thoughtful selection and curation process will make your gallery wall not only visually appealing but also deeply personal and meaningful.
3. Gather Necessary Materials

There are various materials you should think about getting for this project. These are the following:
- Frames
- Photos or artwork
- Matting
- Backing board
- Glass or acrylic
- Mounting hardware
- Level
- Measuring tape
- Pencil
- Hammer or drill
- Templates
- Screws and wall anchors
- Sawtooth hangers or D-rings
- Screwdriver or drill bit
Selecting the right materials is a crucial step in creating a gallery wall, enhancing its visual appeal and durability. Quality frames and mats add aesthetic value while protecting your photos.
The right mounting hardware ensures secure installation, preventing damage to your wall and cherished photos.
Tools like a level and measuring tape assist in accurate placement and maintaining a balanced and harmonious display.
Overall, the right materials are integral to creating a gallery wall that is both beautiful and long-lasting.
READ MORE: Easy Ways to Fill an Empty Wall with Wall Decor
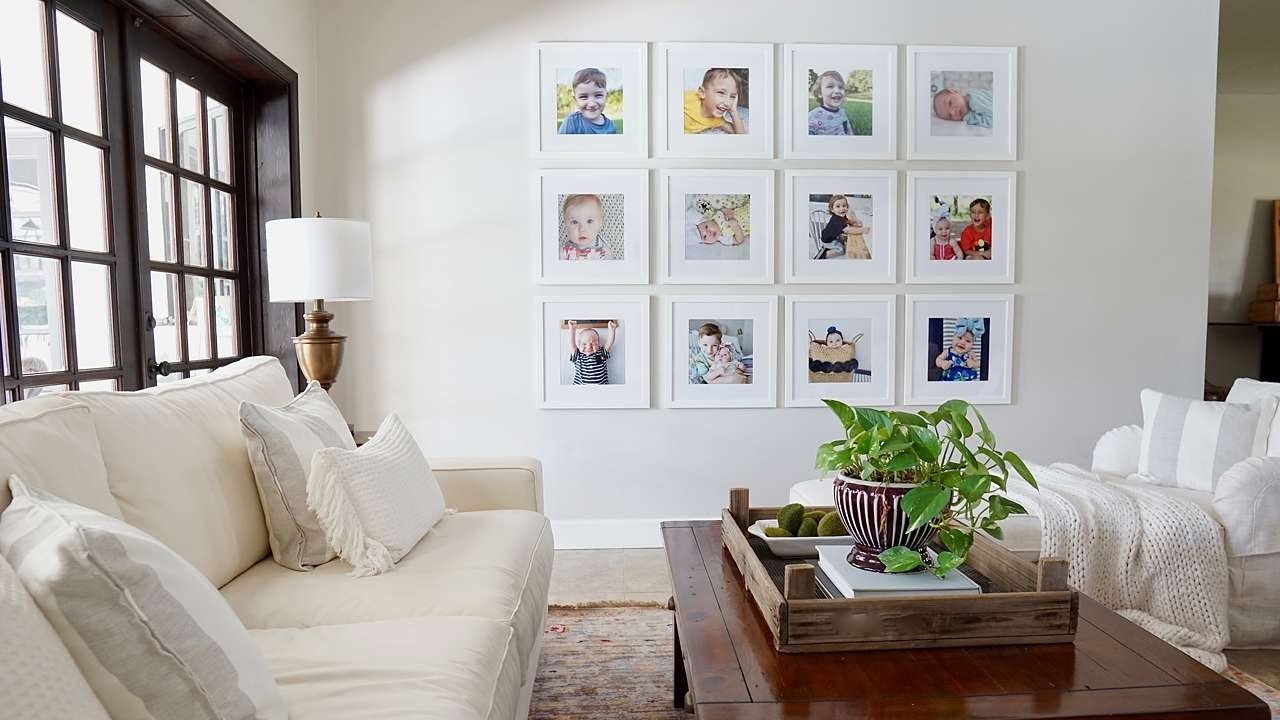
4. Plan the Layout
A well-considered layout will help ensure that your gallery wall is visually balanced and harmonious, maximizing its aesthetic impact.
By arranging your photos and frames on the floor or using templates before mounting them on the wall, you can experiment with different configurations and make adjustments as needed.
This process allows you to visualize how the frames relate to each other in terms of size, shape, and color and to fine-tune the spacing between them.
A planned layout helps avoid unnecessary holes in your wall, saving you time, effort, and potential frustrations.
Ultimately, a thoughtfully planned layout paves the way for a gallery wall that embodies your unique memories and personal style.
5. Create Templates
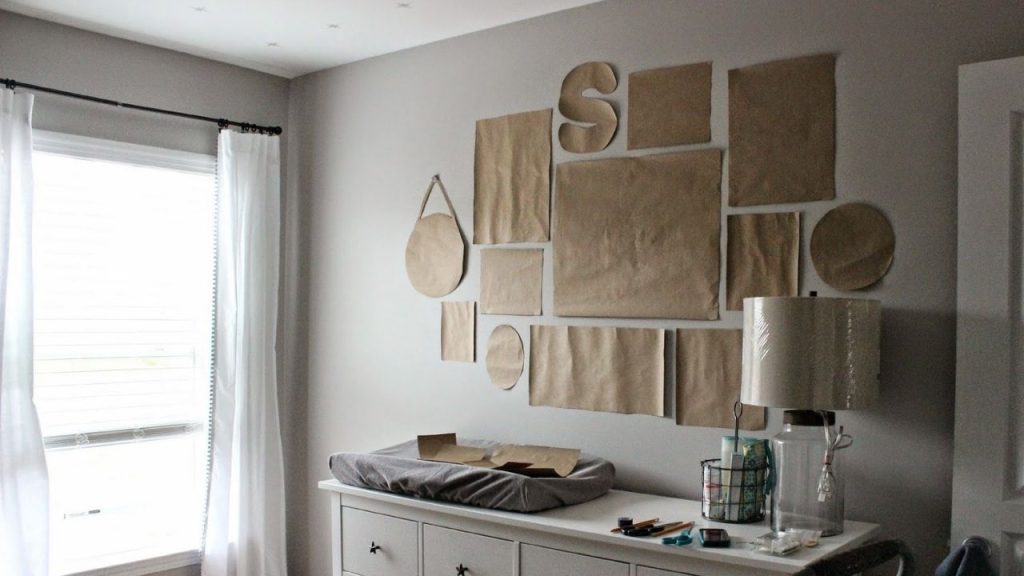
Templates allow you to visualize and manipulate your gallery layout without the risk of unnecessary holes in your wall. To create templates, trace the frames onto paper and cut out the shapes.
Then, tape these templates to your wall, adjusting and rearranging them until you are satisfied with the layout.
This method gives you the freedom to experiment with different arrangements, ensuring that your gallery wall will be aesthetically pleasing, balanced, and harmonious.
Also, templates help in marking exact spots for nails or screws, making the hanging process smooth and precise.
6. Add Personal Touches
Personal elements, whether they’re family heirlooms, children’s artwork, or travel keepsakes, weave a unique story that resonates with everyone who views your gallery.
They foster a sense of connection and reinforce the personal narrative behind every photo.
This could be a ticket stub from a memorable concert, a handwritten note from a loved one, or a pressed flower from a special occasion.
By integrating these personal touches, your gallery wall will be not only visually appealing but also a vivid tableau of your family’s cherished memories and experiences, a testament to your shared journey.
In conclusion, creating a gallery wall is your opportunity to showcase and celebrate your family’s journey.
By carefully selecting photos, curating personal items, and meticulously planning the layout, you can transform a blank wall into a beautiful testament of shared memories.
Remember, it’s not just about aesthetics but the stories and emotions your gallery wall inspires. You’ve got this! Now go, create, and let every picture tell a story.