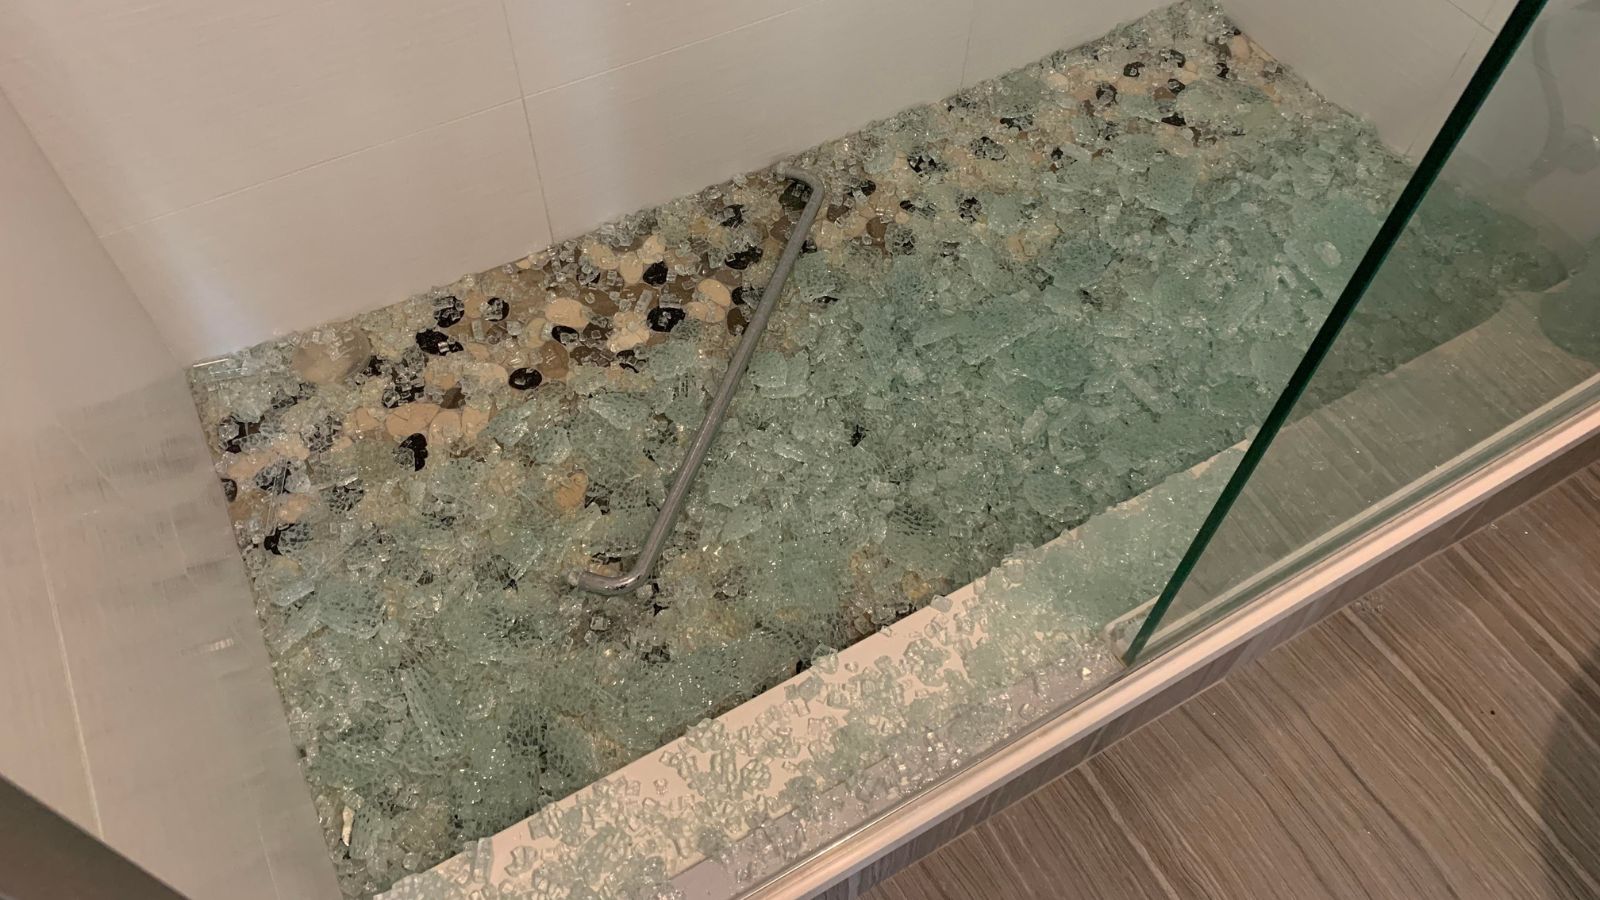
Dealing with a shattered shower door can be an unexpected and hazardous situation in any home. Safety should be your top priority as broken glass poses a risk for injury.
Before you begin the clean-up process, it’s imperative to equip yourself with protective gear.
Wear thick gloves to protect your hands and consider safety glasses to shield your eyes from any small glass particles that could cause harm.
Once you’re properly protected, it’s time to address the mess. Cleaning up a shattered shower door requires careful handling to ensure all the glass is safely removed without causing further damage or injury.
Sweep up the larger shards of glass carefully and deposit them into a sturdy trash bag.
Smaller pieces that are not easily picked up can be hazardous, so a thorough vacuuming of the area is a wise next step to catch any remaining fragments.
Make sure to wipe down all surfaces where glass may have landed, including any wet areas where tiny pieces can stick.
Using a damp cloth can help capture the smallest glass bits, providing a comprehensive approach to the clean-up effort.
Take your time and inspect the area multiple times; lingering glass shards not only pose immediate risks but can cause future accidents if overlooked.
1. Initial Safety Precautions
Before you begin the clean-up process, your safety is paramount. Dealing with shattered glass is hazardous, and taking the appropriate safety measures can prevent injury.
Wear Protective Gear
- Gloves: Always wear thick, heavy-duty gloves to protect your hands from sharp edges. Gloves made of leather or a puncture-resistant material are ideal.
- Eye Protection: To shield your eyes from any flying fragments of glass, put on safety goggles.
- Shoes: Ensure you put on closed-toe shoes with a sturdy sole to prevent any shards from piercing through.
Secure the Area
- Restrict Access: Immediately restrict access to the area to prevent someone from inadvertently stepping on the shattered glass.
- Warn Others: Inform all household members about the broken shower door and keep pets away to ensure their safety.
2. Assessment and Removal
When cleaning up a shattered shower door, first assess the damage to understand the scope and safety concerns.
Then, remove the glass safely and thoroughly, starting with the larger pieces before moving on to the fine shards.
Assessing the Damage
Begin by carefully looking at the shattered glass to determine how far the glass has spread and to identify the size of the pieces you’ll need to clean up.
Note whether it’s tempered glass, which typically breaks into smaller, less sharp pieces, or regular glass, which can break into sharper, larger shards.
Wear protective gloves and shoes during this process to protect yourself from injuries.
Picking Up Larger Glass Pieces
Use a broom and dustpan to sweep up the larger pieces of glass. Gently push the broom across the floor to collect the glass, being careful not to press down too hard to avoid embedding glass into the broom bristles.
Dispose of these pieces immediately in a solid cardboard box or container to prevent the glass from causing injury.
Vacuuming Small Glass Shards
After the larger pieces have been removed, use a vacuum cleaner with a hose attachment to remove smaller shards from the floor and any crevices.
Go over the area multiple times to ensure all the tiny pieces are picked up; these small shards can easily be overlooked and may cause injury if left behind.
Empty the vacuum’s contents into a secure container to prevent glass from spilling out.
3. Deep Cleaning the Shower Area
After the larger pieces of your shattered shower door are safely removed, you may still find smaller glass fragments and accumulated residue in the shower area.
A thorough deep clean will ensure the space is safe to use and restore its cleanliness.
Cleaning Remaining Debris and Residue
Begin by donning protective gloves to keep your hands safe from tiny glass pieces. Use a damp cloth to gently wipe down surfaces, capturing any remaining glass shards.
For embedded fragments and gritty residue, opt for a microfiber cloth and a non-abrasive cleaner or a mixture of liquid soap and distilled white vinegar.
The vinegar helps to dissolve mineral deposits and soap scum without scratching surfaces.
Supplies Needed:
- Damp microfiber cloth
- Non-abrasive cleaner or homemade cleaning solution (liquid soap and distilled white vinegar)
Addressing the Shower Door Tracks
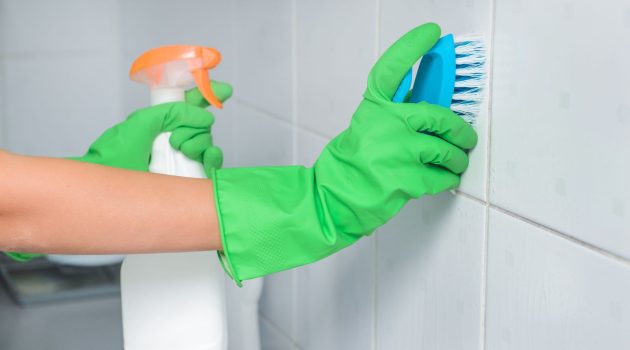
Shower door tracks often harbor grime and mildew, which may be more accessible with the door removed. Spritz a cleaning solution made from equal parts vinegar and water into the tracks.
Let it sit for a few minutes to break down soap scum and mildew. Then scrub with an old toothbrush or a small brush to reach into the crevices.
Follow with a wipe down using a damp cloth, making sure you remove all loosened debris and cleaning solution.
Track Cleaning Steps:
- Spray vinegar solution
- Let sit for a few minutes
- Scrub with a brush
- Wipe clean with a damp cloth
Final Rinsing and Wiping
Rinse the entire shower area with warm water, ensuring that all cleaning agents and remnants from the shattered door are washed away.
Finish by wiping down the walls, floor, and especially the tracks with a clean microfiber cloth. This will not only absorb the water but also remove any streaks, leaving your shower area spotless.
For that extra shine on the remaining glass surfaces, you can use a solution of one part ammonia in three parts water or a glass cleaner. Dry with a fresh cloth to prevent water spots.
Rinsing & Wiping Guide:
- Rinse with warm water
- Wipe with microfiber cloth
- Polish glass with glass cleaner or ammonia solution
- Dry thoroughly to avoid water spots
4. Preventative Measures and Shower Door Replacement
Ensuring safety and longevity of your shower doors involves careful consideration of preventive steps and understanding when it’s time for a replacement.
Here’s how to stay proactive before an accident occurs and what to do if you face a broken shower door.
Preventing Future Incidents
Your shower enclosure can be kept safe from future shatters by regularly maintaining both the shower door and its frame.
- Daily Care: After each use, squeegee the glass to prevent hard water stains and soap buildup, which can make glass more prone to shattering.
- Check-ups: Inspect the hinges and shower door tracks periodically for signs of wear or corrosion. Clean these parts with a suitable cleaner and replace them if necessary.
- Avoid Extremes: Extreme temperature changes can stress the glass. Aim to keep a moderate temperature in your bathroom at all times.
- Door Frame: Ensure the shower door frame is properly installed and secure. A loose frame can cause undue stress on the glass.
Choosing and Installing a New Shower Door
When it comes time to replace your shower door due to aging or after a shatter, select a door that complements your shower enclosure and meets safety norms.
- Material: Choose a tempered glass door for increased safety as it shatters into small, less harmful pieces if broken.
- Measurements: Take exact measurements of your shower enclosure to ensure that your new door will fit perfectly within the existing door frame.
- Professional Installation: Although some may opt for DIY, professional help ensures your new door is installed correctly and functions safely.
- Maintenance Tools: Have the right tools on hand from the start, such as a squeegee, soft cloths, and a mild detergent, to clean the glass without scratching it.
By following these pointers, you’ll help keep your shower safer and avoid the inconvenience of dealing with another shattered door.


