Window treatments are a great way to add a stylish touch to any room. But if they’re not kept up, they can become dingy and outdated.
In this article, we will show you the proper cleaning techniques for all types of window treatments: blinds, shutters, and shades.
With our tips and tricks, you’ll be able to keep your treatments looking as good as new. Let’s get started!
1. Introduction to Window Treatment Cleaning
Cleaning your window treatments not only improves their appearance but also helps maintain their functionality and prolong their life.
Regular maintenance can also reduce allergens and dust in your home.
Each type of window treatment requires a different cleaning approach, so it’s important to know the best methods for each.
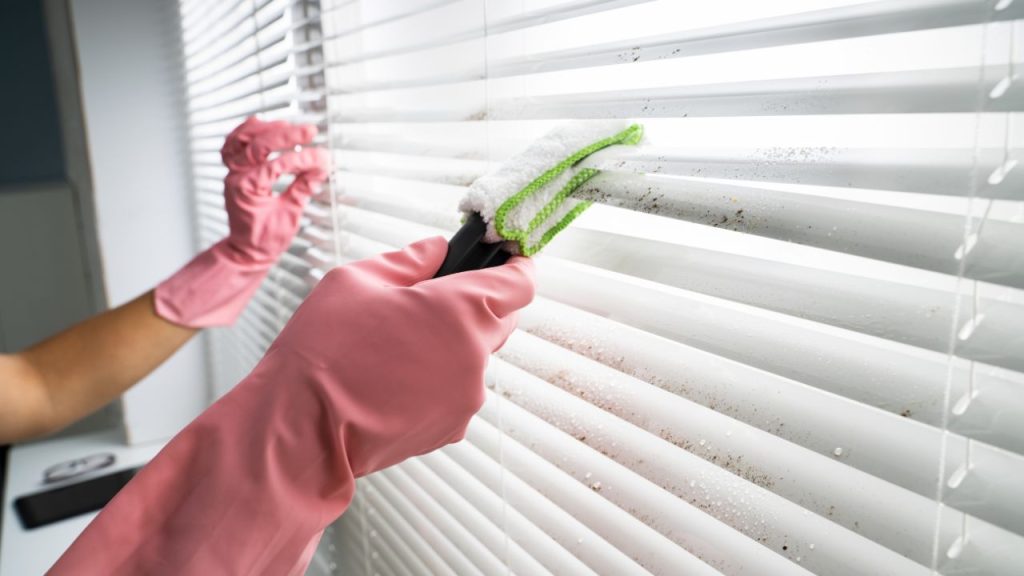
2. Cleaning Your Window Blinds
Step #1: Identify Your Window Blind’s Material
This step is important. Different types of window blinds are made from different materials and require different cleaning techniques.
Faux wood blinds, for example, should not be exposed to water or steam because it can damage them.
Step #2: Vacuum Your Window Blinds
Once you have identified the material your blinds are made from, it’s time to start vacuuming.
Use a soft-bristled attachment on your vacuum cleaner to remove dust and dirt before damp wiping or laundering. Vacuum both sides of each slat for a thorough cleanse.
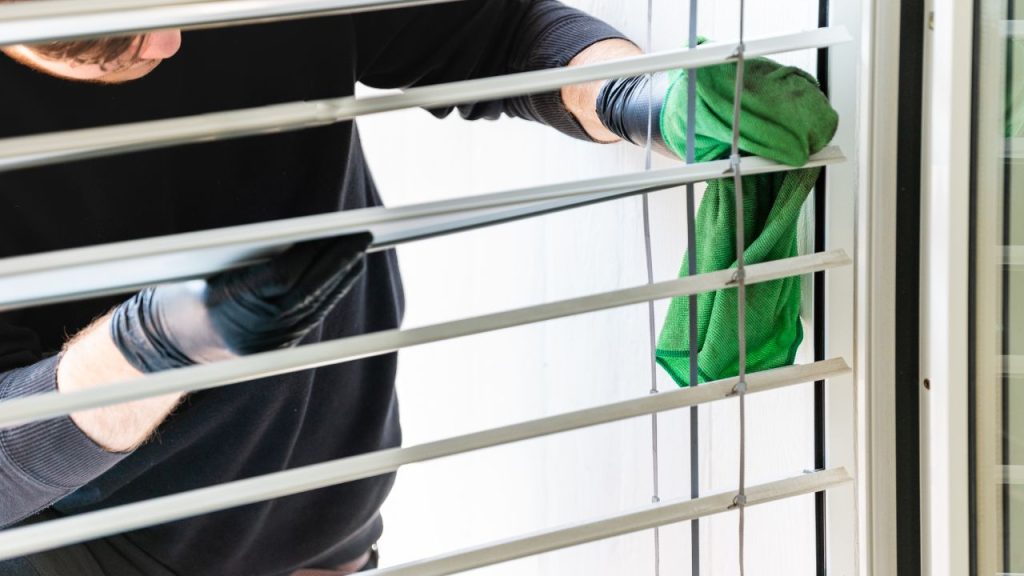
Step #3: Wipe Down With a Damp Cloth
For wood, plastic, and metal blinds, use a damp cloth with warm soapy water to wipe down each slat, one at a time.
Make sure you don’t leave any dusty residue behind. A soft brush or sponge can be used for extra scrubbing power.
Step #4: Hang Your Blinds Out To Dry
Once your window blinds are clean, hang them out to air dry in the sun. This will help remove any moisture that may have soaked into the material during cleaning.
For faux wood blinds, make sure they’re completely dry before putting them back in place – otherwise, they may warp or crack.
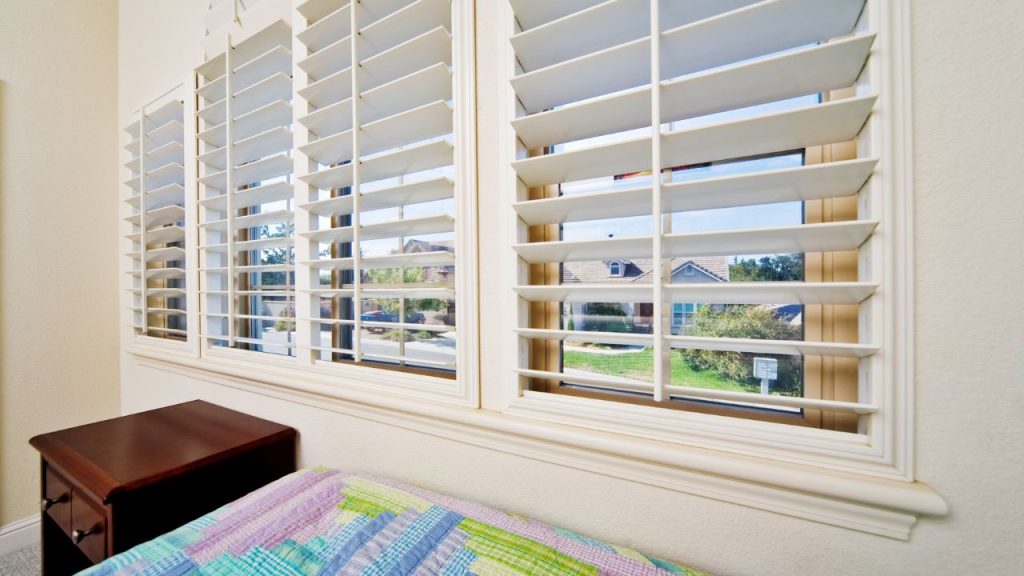
3. Cleaning Your Window Shutters
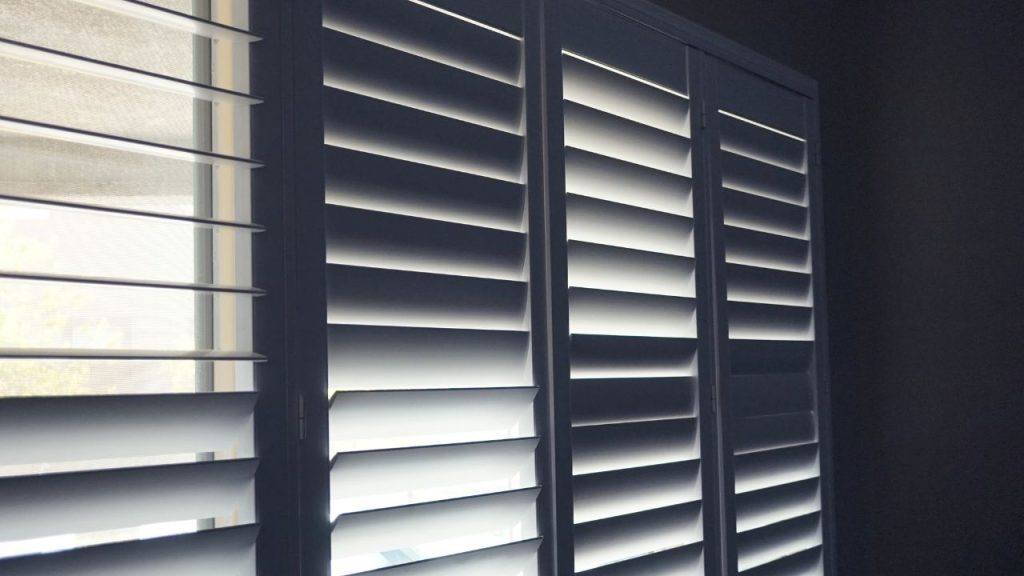
Step #1: Dust Regularly
Regular dusting with a feather duster, microfiber cloth, or vacuum cleaner with a soft-bristled attachment will help keep your shutters clean and free of dust.
Make sure to get into all the nooks and crannies.
Step #2: Clean With a Mild Detergent
Mix up some mild detergent with warm water in a bucket and dip it in an old cloth or sponge. Wipe down each shutter gently, making sure not to scrub too hard.
Rinse off any soap residue with a damp cloth before hanging out to dry in the sun.
Step #3: Use a Specialized Cleaner
Certain window shutter materials may require specialized cleaners to remove dirt and dust. Follow the instructions on the cleaner’s packaging for the best results.
4. Cleaning Your Window Shades
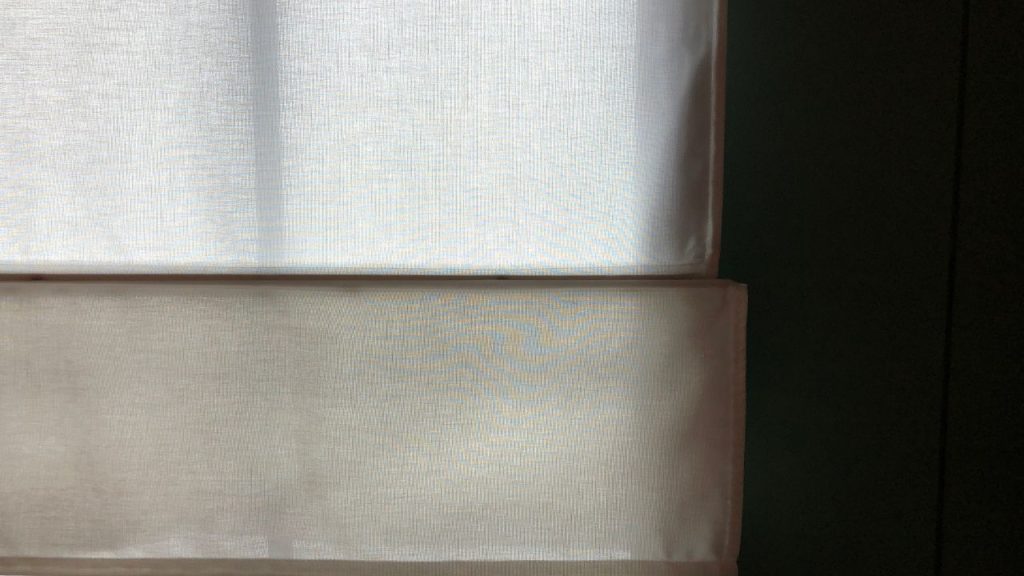
Step #1: Vacuum Regularly
Vacuuming your window shades is an important first step in keeping them clean. Use a vacuum with a soft-bristled attachment to reach into even the tightest corners, making sure that all dust and debris are removed.
Step #2: Spot Clean With Mild Detergent
If your shades have any marks or stains, they can be spot cleaned with mild detergent and warm water. Again, make sure there is no dusty residue left behind when you’re finished.
Step #3: Hang Out To Dry
Hang your shades out to dry in the sun, or use a fan for extra air circulation. This will help remove any moisture that may have seeped into the material during cleaning.
And there you have it – an easy guide on how to clean your treatments like a pro!
5. Cleaning Mistakes That You Should Avoid
#1: Not Vacuuming Regularly
Regular vacuuming is key for preventing dust and dirt from building up on your treatments. Make sure to vacuum all sides of each slat or shade for a thorough cleanse.
#2: Using the Wrong Cleaners or Techniques
Be sure to read the care instructions for your window treatment before attempting any cleaning techniques.
Different materials require different types of cleaners and procedures – using the wrong one may damage your treatments.
#3: Leaving Soap Residue Behind
Make sure to rinse off any soap residue with a damp cloth after washing down your treatments.
Leaving this behind can result in streaks and other unsightly marks on your treatments, so be sure to take the extra time to rinse thoroughly.
#4: Not Letting Treatments Hang Out To Dry
Hanging your treatments out to air dry in the sun is the best way to prevent moisture from seeping into and damaging the material.
Make sure you don’t put them back up until they’re completely dry – otherwise, they may warp or crack.
Additional Tip:
If you’re dealing with difficult stains or harder-to-reach areas, call in a professional cleaning service.
They will have the right tools and techniques needed to tackle any job – plus they’ll do it safely so as not to damage your treatments. It’s always better to be safe than sorry!
6. Seasonal Care for Window Treatments
Cleaning your window treatments should not be limited to just a once-in-a-while deep clean.
It’s important to perform routine maintenance throughout the year, especially during seasonal transitions. Here are some tips for seasonal window treatment care:
Spring: As the weather warms up and you start opening your windows more often, be sure to clean your treatments to remove any accumulated dust and allergens from the winter months.
Summer: Sunlight can be harsh on certain materials, so consider rotating your window treatments to minimize sun exposure and prevent fading. Clean your treatments regularly to remove dust and pollen.
Fall: As you prepare your home for the colder months, clean your treatments thoroughly and check for any signs of wear or damage. Make necessary repairs to ensure they will function properly throughout the winter.
Winter: With less ventilation in your home during the winter months, dust and allergens can accumulate more quickly. Regularly vacuum your treatments to keep them clean and free of allergens.
By following these tips and avoiding common mistakes, you’ll be able to keep your window treatments looking like new for years to come.
Want to know more about window treatments? Be sure to check out Bumble Bee Blinds!